The Virtues of Non Fiction Reading and Writing – Part 2

Our Journey

We began by identifying the books in our book bags as fiction or nonfiction.  The students justified how they knew if a book was fiction or nonfiction.  In small groups the students compiled lists of nonfiction text features that they noticed in their stack of chosen books.  As a class we went through the Scholastic Book order and they decided which books were fiction or nonfiction and explained their choice.  The students discussed whether there was a realistic photo, the title and if there was a synopsis about the book.  We explored the “Explain Everything” app and played with it for a short period before getting into the project.  I find that a “romance period” with a new tool helps to keep them on task when they begin their work. The app was fairly new to me but the students found it to be mostly intuitive.  They were really stoked to use the feature that points to the words using a “light sabre”.  There were a few glitches with accessing text edits but eventually they got the hang of it.  We have the free trial version.  The actual app is quite expensive.

Establishing a Purpose

I explained to the students that our younger “buddies” were going to be learning about nonfiction and their teacher was looking for an engaging presentation about nonfiction text features for her students.  By setting up an authentic purpose and audience for writing, the students were engaged immediately.

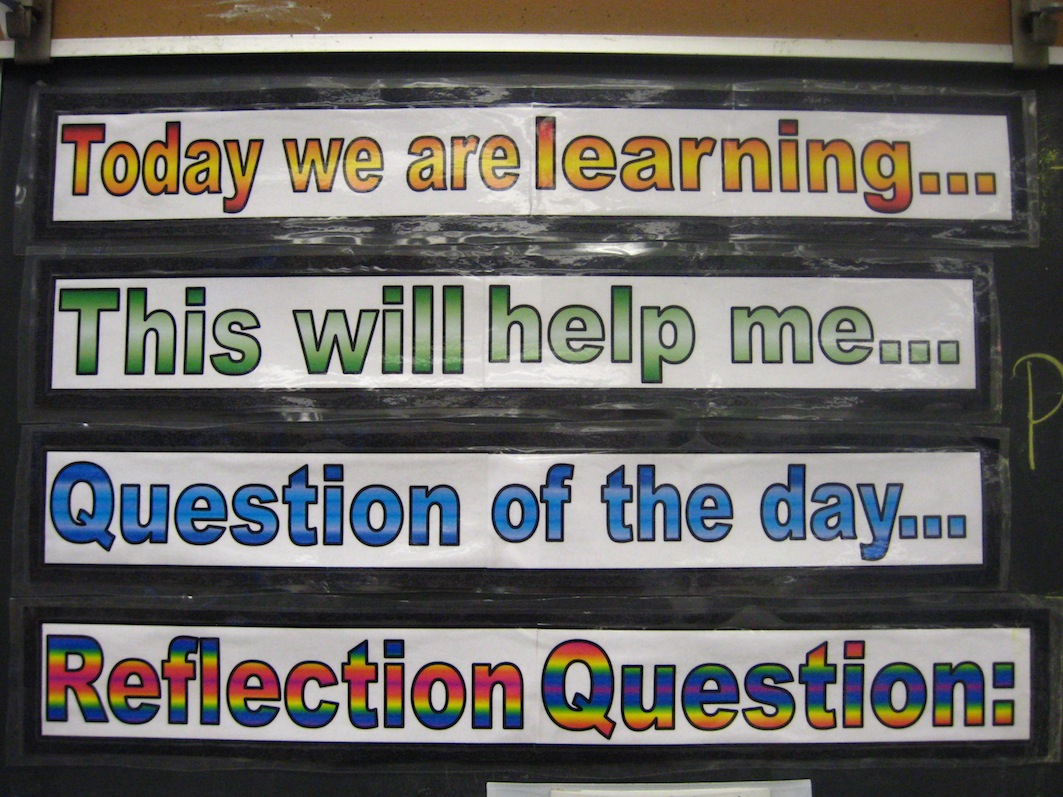
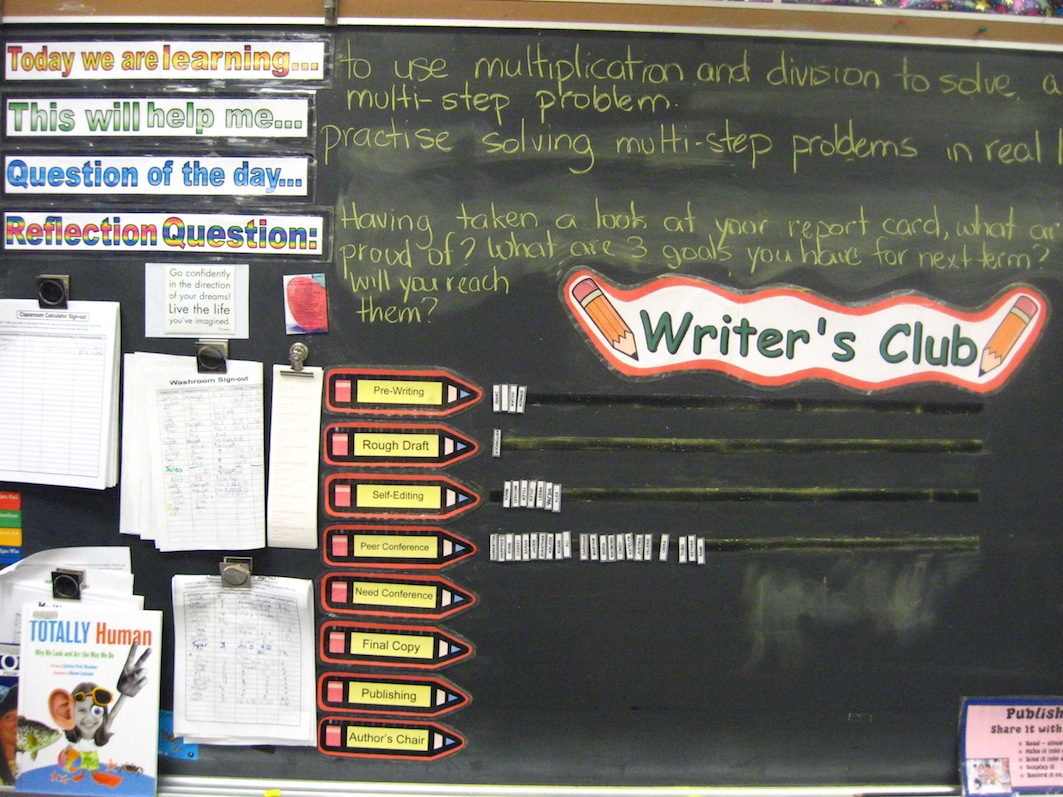
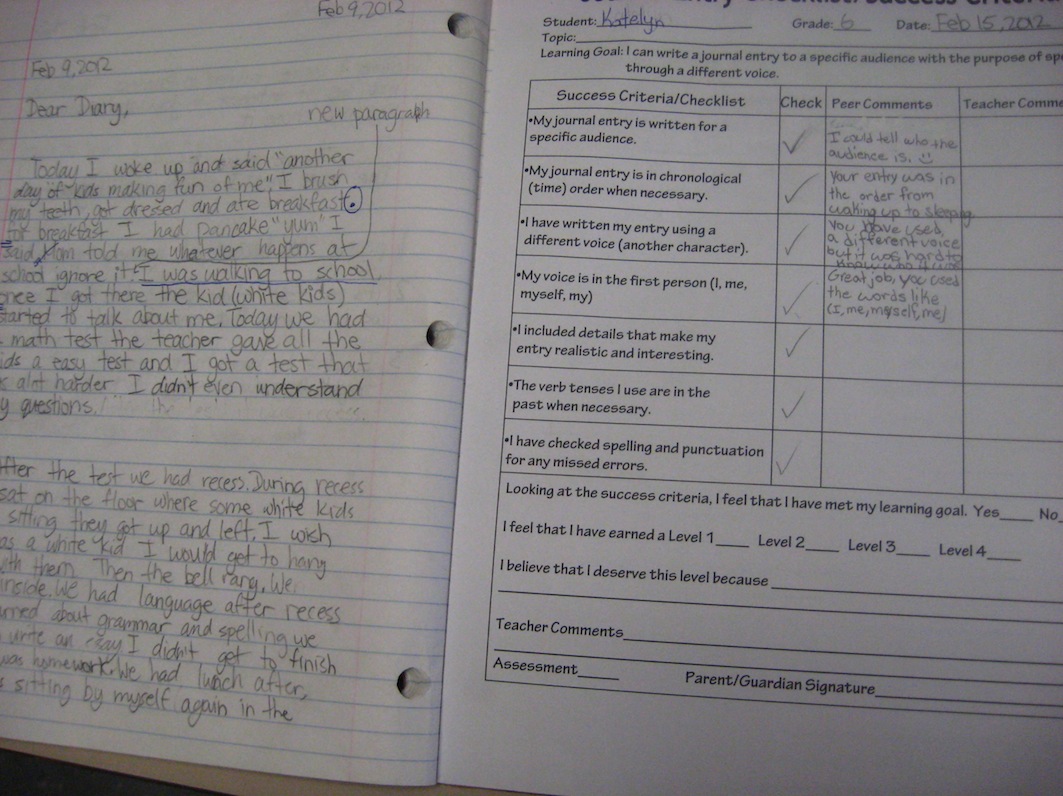
These are the learning goals, success criteria, project checklist and anchor charts that we developed over a period or two.  We added and changed some things as time went on as well.

CEE6A17D-F84C-43F7-B9A9-25090CBB9579                                       A481EA45-96C1-430C-9EEE-5D04A47F2750

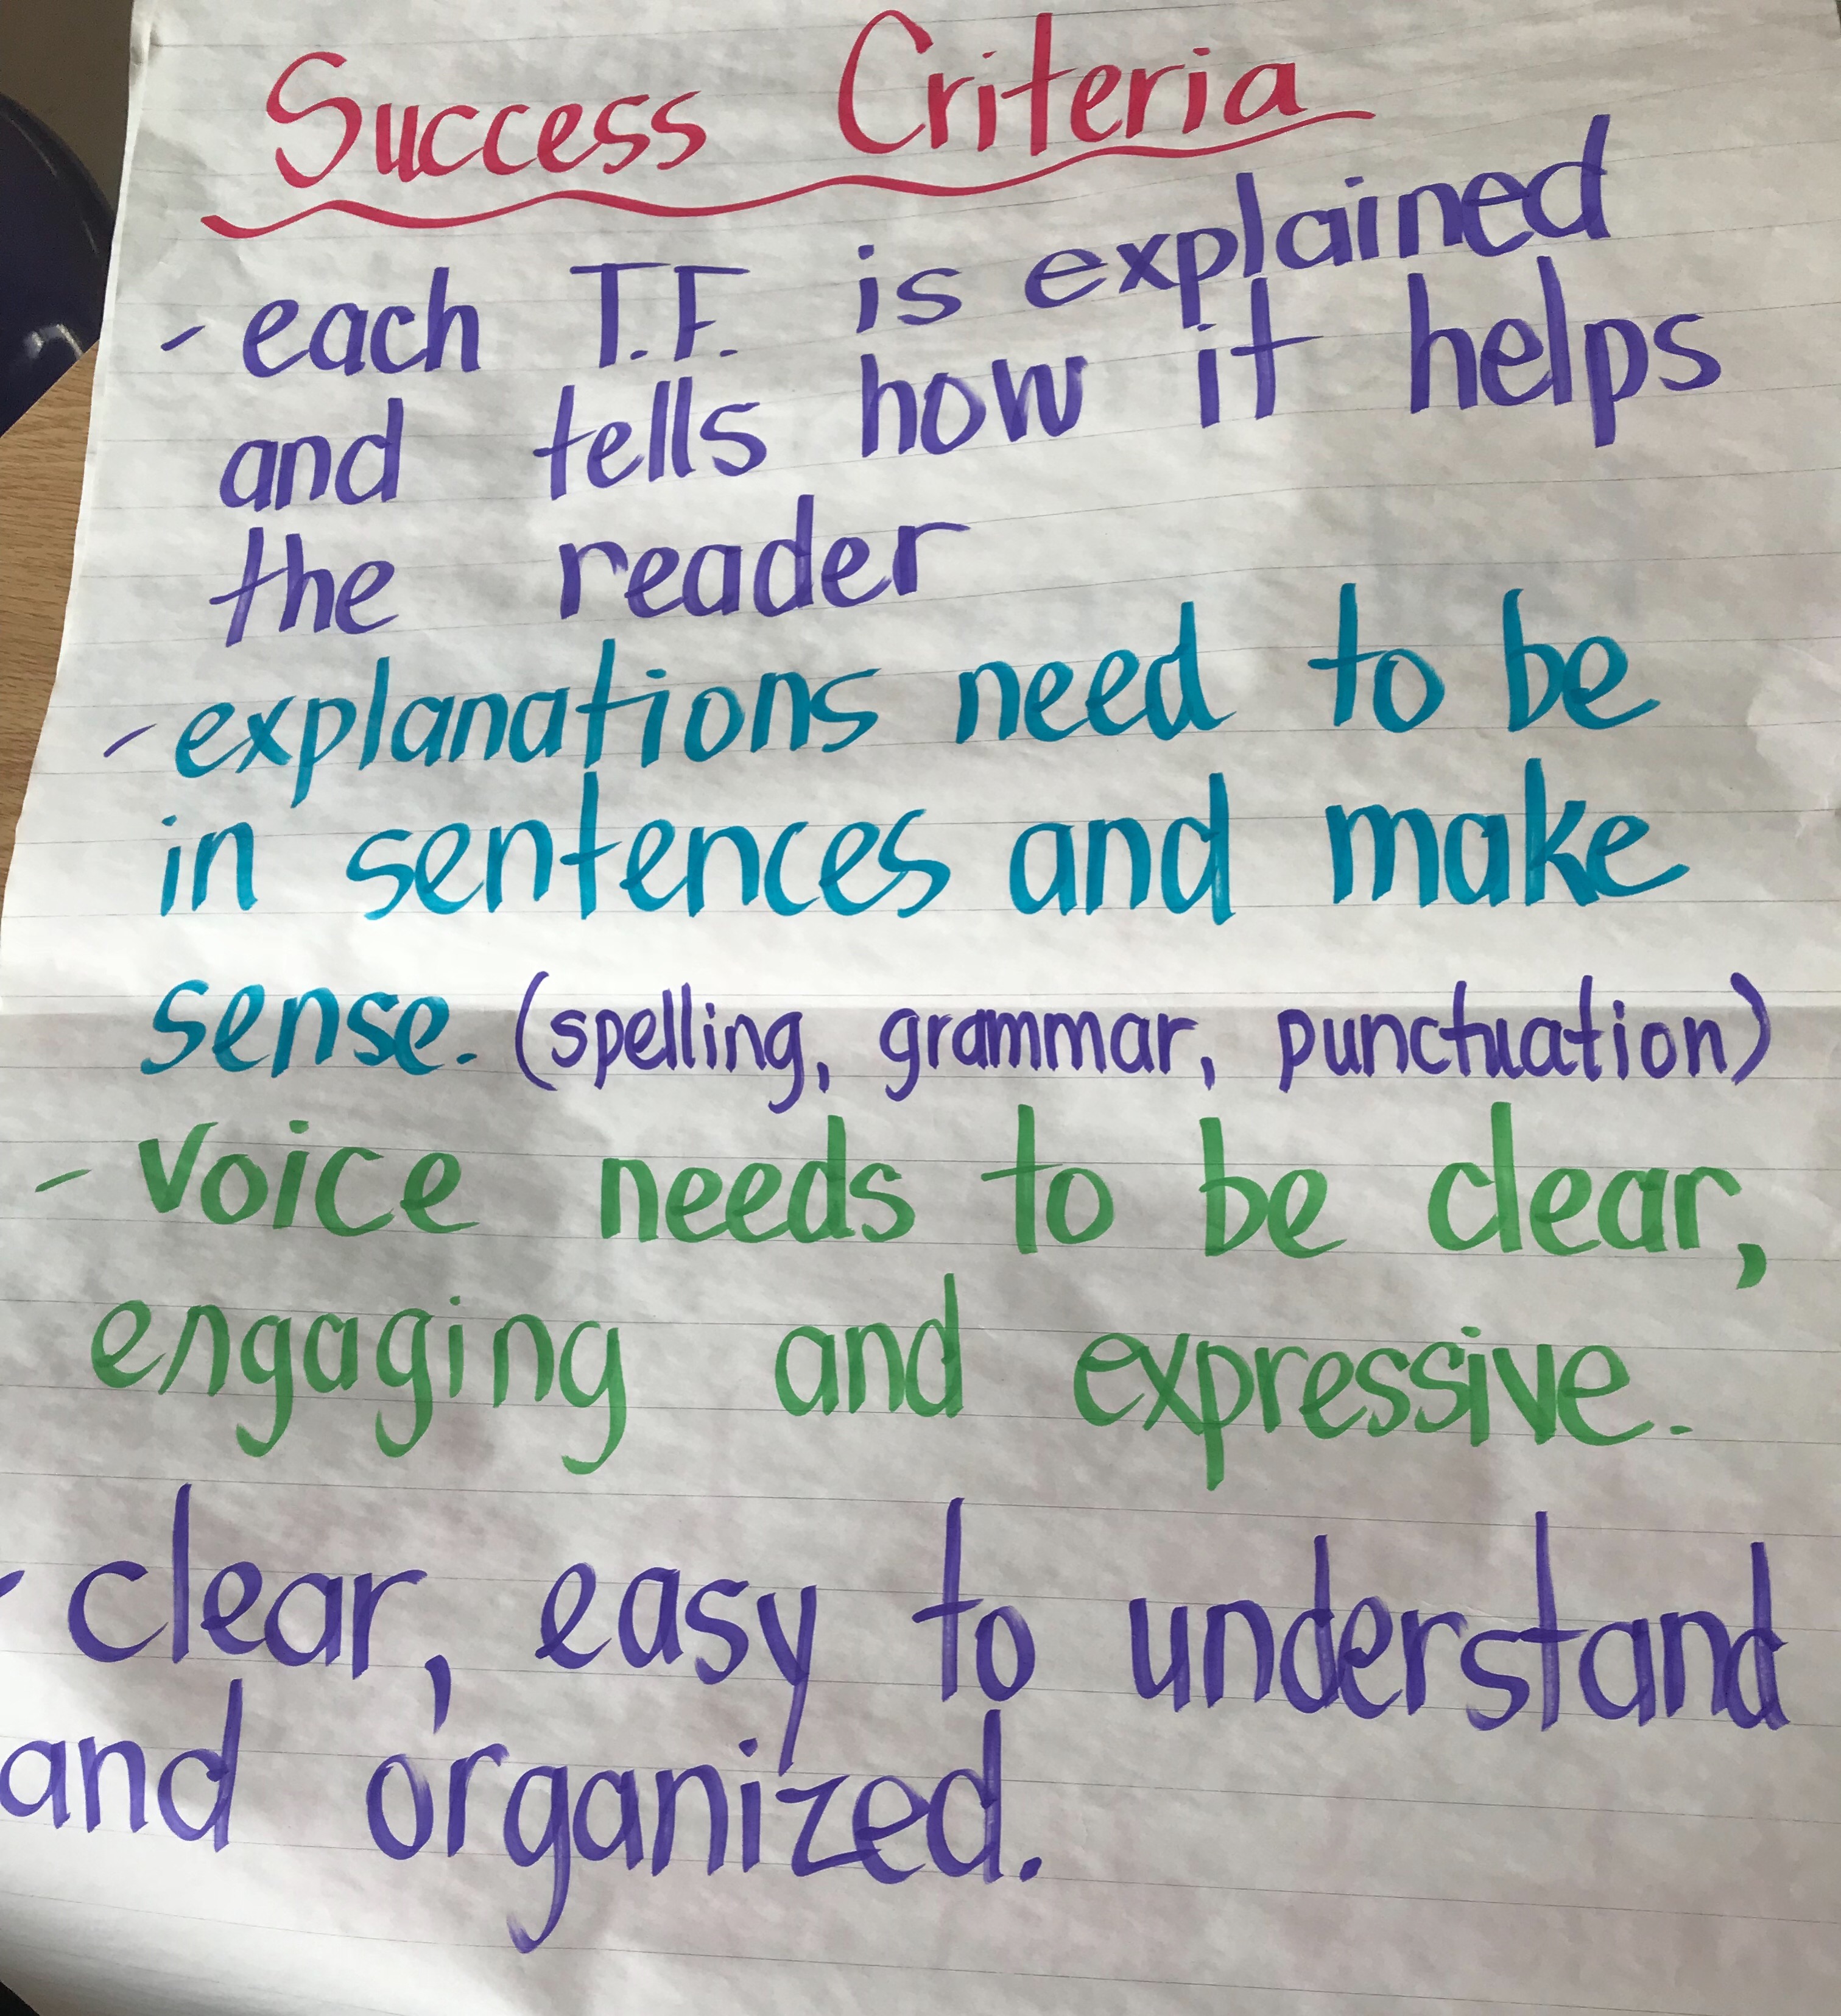
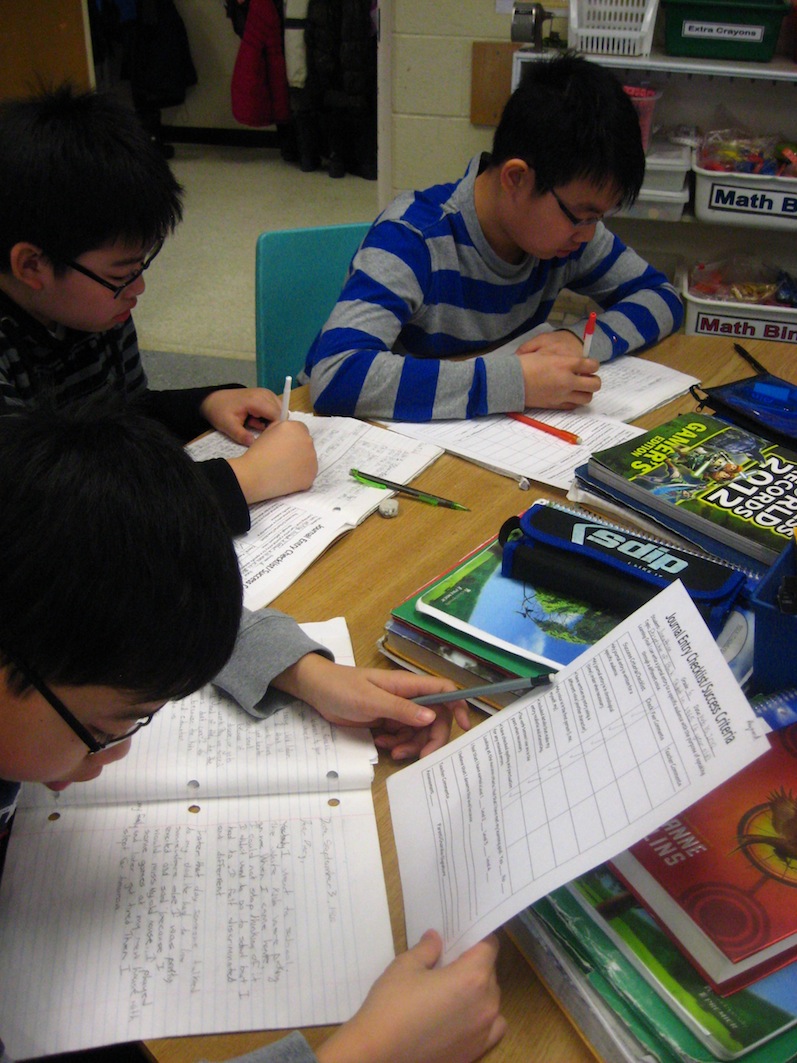
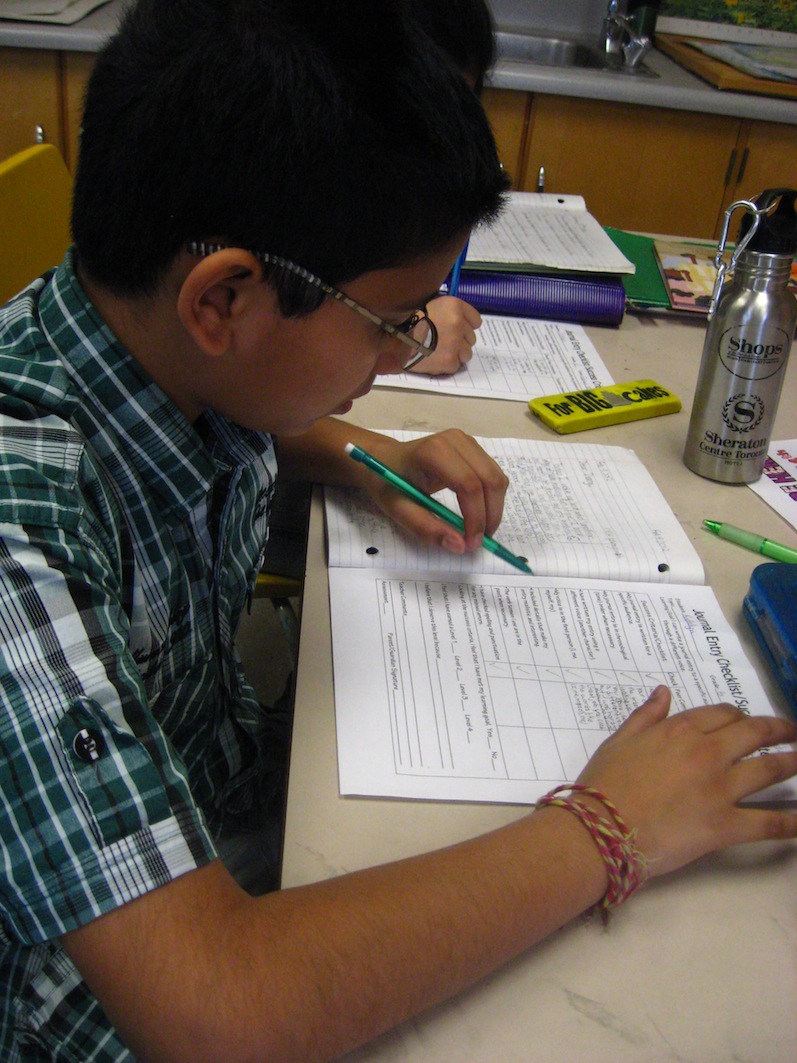
The students really had to think about the information that a nonfiction text feature gave them as a reader.  The learning was much deeper by creating a teaching video than if they had just identified the features in texts.  Students referred to the success criteria and checklists throughout the project.  Before they came to me they had to have some peer feedback.  They put their first draft on Seesaw and I provided some feedback online.  The students edited and adjusted from peer and teacher feedback and then posted for parents to see on Seesaw.  Below the blog, I have included three different examples of projects from both grade four and five.

Assessment and Evaluation

The integration of technology with a presentation provides an opportunity to assess many different curriculum expectations in language:

-ability to critically analyze the purposes for nonfiction text features

-ability to create a piece of media for a specific purpose and audience

-ability to oral communicate coherently and expressively

-ability to write clearly using appropriate conventions and their ability to edit their work

-ability to use success criteria, anchor charts and feedback in the creative process

In the area of learning skills:

Independent Work

-adhere to timelines and guidelines

-use class time appropriately to complete a task

-monitor, assess and revise plans to meet goals

Responsibility

-provide appropriate feedback to peers; being considerate of the feelings of others

-have their materials ready

Initiative

-find answers to questions and materials they need on their own

-find ways to make their work better

Organization

-set up their work so that the ideas are communicated and the audience understands their thinking

-prioritize what needs to be done

Collaboration

-uses politeness and kindness when providing feedback

-shares resources, information and expertise

Self Regulation

-asks for clarification about feedback

-uses mistakes as a learning opportunity

-provides evidence that they think about their thinking

Photo of Mike Beetham

Shifting to Assessment As Learning

How did I do teacher? Did I do it right? Is this what I am supposed to do?  These are the questions that I have heard over and over my entire career. I began to wonder why is it that my students always need to have me tell them how they are doing. As my understanding of good assessment practices evolved, so did my understanding of assessment as learning. This is the ultimate goal of what effective assessment practice strives to create in learners.

Once students not only know what they are doing, but what a successful product looks like (success criteria), they shift from teacher focussed to student directed. At first my practice consisted of the criteria being established by me and then shared with my students. As I continued to enhance my understanding of effective assessment practice (Damian Cooper – Talk About Assessment 2006) I began to experiment with student created criteria. Lo and behold, not only did my students get it, they now owned it and the task became contextually valid to them.

My current pedagogy that I am phasing into my practice is a daily debrief on the day’s learning. I will often use it at our final circle time of the day, journal writing or individual conferencing. The following questions are my guide:

What did you learn today?                 How do you know you learned it?

How well did you learn it?                  What helped you learn it?

What did you find difficult to learn today?                     Why?

What could you do tomorrow to make it easier to learn?

Where can you use what you learned today?

I usually choose two questions and focus on a specific area. What did you learn in mathematics today? I am very happy with the beginning results I am obtaining. I have just recently started to take a few notes from the discussion and remind students the following day so that they can use their own feedback to assist with the new day’s learning.

If you have any other prompts or guiding questions that you use, please post them for other to use.  

Photo of Mike Beetham

But Why? Part 2

Why I have chosen a video? Why I have allowed them to work in groups? Why am I allowing my students to have choice in their learning?  Why have I assigned homework? This is the question I start with for every instructional unit (and in practice, every classroom decision that I make). Why am I doing what I am doing? What is my desired learning outcome? How will it move my student’s learning forward?

My change to using a backward planning model has been one of the most significant improvements to my teaching practice. I now start all of my instructional planning with the following question:

What do I want my students to know, be able to do and value at the end of this instructional unit?

 Of course my answer always starts with the Ontario Curriculum and the overall expectations of that subject area. The next phase on my planning is where I try to visualize what does that learning look like in the life of a 10 year old (or 15 year old or 7 year old etc…). I try to find the context for the learning so that it becomes real for my students. That context increases the level of engagement, which in turn bolsters the intake of learning.

A caution I always have to remind myself of is that I am viewing the learning tasks and content through an adult focussed brain. To be more effective I have to train myself to screen my teaching through the developmental age of my students. When you know why you are teaching something, the actual teaching becomes so much easier.

Photo of Erin G

Le passé c’est brassé – Bring the Passé Composé to Life (Part 2)

               An important lesson that I’ve learned this year is have the students write in a concise manner. In the following assignment, La journée de …, students must basically incorporate most of the major things we covered in approximately 10 sentences (passé composé with avoir/être, singulier/pluriel, compound sentences and adverbs). Originally in past years, I used to do a similar project entitled “Une semaine dans la vie de …” which involved them describing the week in the life of someone using the same requirements but was more than double in length. With my senior classes, I’ve been focusing more on quality rather than quantity by teaching them how to expand and elaborate on simple ideas. Again, the shorter length requirement is more feasible for reluctant FSL writers but showing all your students how to achieve more complexity allows your more advanced students to still be challenged. I’ve attached the project guidelines and reference sheets for you to view. Hopefully, it might be useful for an end of the year assignment.

la journee de project guidelines

Les activités possibles – au passe


Photo of Mike Beetham

Time To Smell The Roses

As the year now shifts to the final months of academia, it is important to take the time and reflect on the growth of yourself as a teacher, the academic gains that your students have made and the endless best efforts that took place in your learning community. We often start to stress or feel the pressure of the year ending with so much curriculum yet to cover that we neglect the opportunity to recognize the gains accomplished thus far. By instilling in your students (and developing in your teaching practice) the skills to reflect on their effort, accomplishments and next steps we pave the way for students to become a partner with us in the educational journey.

The timing is critical as it will allow all parties involved the opportunity to give and receive feedback that will direct them in their goal setting for the last two months of the year. If this feedback is provided too close to the end of the year there will not be an adequate amount of time to use it to create change. This is an essential time when I focus on the accomplishments of each student and work with them to establish next steps. An analogy that I would use is when a coach takes that final timeout to share a plan and pump up his/her team for that final push to reach their goal. The message the student receives is that I am capable, I have been successful and it is important for me to keep it going rather than coasting into summer vacation. Enjoy this time of year and take great pride in what you have been able to accomplish with your students.


Photo of Erin G

The Unit Plan: The Timeless Form of the Pyramid

This may seem redundant, but I found that unit planning comes up frequently as a topic of interest during workshops for beginning teachers. This is probably due to the overwhelming nature of the job and all of the simultaneous demands coming at you. Consequently, a weekly (let alone a daily) plan is as forward thinking as one can muster at times. It is tempting to use the plans included with some of the resources or someone else’s. However, designing your own is really helpful because you’re forced to really organize your thoughts and direction. The best format of a unit plan that I have ever come across was given to me by a friend at the Halton Board and was the template used by French teachers there. As someone who is very visual and relies heavily on graphic organizers, I immediately put it to use. Without getting bogged down by detailed descriptions, it is very simplistic and allows you to clearly chart a course of action.

 
Shaped in the form of a pyramid, the base is the featured language structures. What follows next are the diagnostic assessments and activities leading to the formative assessment. Finally the peak is your summative assessment. I always begin with the base of curriculum requirements and move on to create the summative assessment related to those. I then plan out the individual activities/lessons that students will need in order to be successful in the final task. What I really like about this format is it allows you to plot out everything and to foresee any possible gaps. In the end you’re left with an efficient, simplified yet cohesive vision that relieves the stress of incoherent and random planning. Both you and your students will benefit. I have included a blank template as well as one of my sample units. Strangely enough, unit planning can be as satisfying as cleaning out one of your messiest closets.

 
pyramid unit plan – sample
pyramid unit plan template

Learning Goals: Today we are learning...This will help me...Question of the day,.. Reflection Question

Success Criteria: Let’s Accomplish Our Learning Goal

I remember sitting in a workshop last year where we were challenged to look deeper at the learning goals we set for our students and how we should co-create the success criteria in order to ensure that students understand how to achieve the goal or expectations set out for a particular unit/strand.  I also remember wondering whether it would be worth it to put in the time and effort to fully implement this latest strategy/tool in my own classroom with all the additional initiatives I was taking on with respect to my professional learning.  I decided to learn as much as possible about using learning goals and success criteria in my teaching and assessment practices.

Today, I can honestly say it is one of the best learning experiences I’ve had in my career thus far.  In many respects, it has changed the way my students understand what they are learning, why they are learning specific concepts/skills, and how they can demonstrate what they know.

Everyday I share a learning goal with my class and how that concept/skill will help them in a real life context.  Within each unit of study or topic we focus on, I create the learning goal by using the curriculum expectations and, together with my students, we co-create the success criteria to achieve the learning goal by using mentor texts, level 3 and 4 responses, etc.  Students know the importance of using the success criteria to edit, revise, and share their knowledge and understanding in a clear and concise way.

We have a saying I took from Maya Angelou: “When you know better, you do better.”  When students know what is expected and how they can achieve the learning goal, they have a better chance of succeeding and progressing further.

How I share learning goals and reflection questions with students each day
Students know what they are learning each day
A student uses the success criteria to revise and edit his writing
Students use success criteria to peer edit by adding descriptive feedback
Students use the descriptive feedback from their peers to work on their final draft
Photo of Tina Ginglo

An Integrated Unit- A Chair for Baby Bear


The culminating task for our unit on strong and stable structures was the highlight of my first four months back in the classroom.   My colleague and friend, Catherine Little, who is currently teaching science at York University at the Faculty of Education, generously offered her time and expertise by facilitating the launch of this culminating task with my third grade students.

Catherine launched the task by first reading the picture book, A Chair for Baby Bear  (2004) by Kaye Umansky and illustrated by Chris Fisher (Barron’s Educational Series, ISBN-13: 978-0764157899).   In this story, after Goldilocks breaks Baby Bear’s chair and flees the bear’s cottage, Baby Bear goes to town with Papa Bear shopping for a new chair.   In town, Baby Bear was unable to find a chair that was “just right” for him.  Catherine stopped at this point in the book, and presented the task to my class.  They were to make a chair for Baby Bear using only newspaper and masking tape!

The students had to apply everything they learned about strong and stable structures to create a chair that was just right for Baby Bear.   The knew they were successful when they placed a stuffed toy bear on their chair. If their chair were stable, the stuffed bear and the chair would not fall down!

After the students reflected on the process and self assessed their designs, they wrote a procedure or recount for “Professor Catherine” to share with other third grade students she will visit.  The students were so proud of their chair.  They were focused and I was able to assess what they learned about strong and stable structures, not by giving them a unit test on the topic, but by observing students build their chair, conferencing with them and by reading their self assessments and procedural writing.   This is what I love most about teaching and learning!


Photo of Tina Ginglo

The Power of Co Teaching

I have heard about the power of co teaching for some time now, but I have only had the opportunity to experience co teaching first hand in recent weeks.  I am sold!  Co teaching mathematics with my teaching partner and Family of Schools Math Coach challenges me and engages me in authentic context based professional learning.   For those who are not familiar with co teaching, co teaching is not synonymous with team teaching. In team teaching, the students basically have two teachers teaching them a lesson.  Each teacher takes a turn leading a specific part of the lesson.  When co teaching, one teacher is the Lead Teacher and the other is the Co-teacher.  The Lead Teacher teaches all parts of the lesson and the co-teacher is the “kid watcher” as well as “teacher watcher”.  For example, today I was the co teacher for a third grade number sense lesson.  In addition to paying close attention to the strategies my students were using to solve an addition word problem that required them to add two large numbers, I was also paying close attention to the probing questions the Lead Teacher asked the students.

Valuable learning occurs at a number of levels.  First, I value the opportunity to observe my students closely, recording every noteworthy observation, what challenged them, student “aha” moments, and evidence of understanding or confusion.  I am free to concentrate fully on my formative assessment.  On another level, I am also gathering data on the questions and instructional strategies the Lead Teacher used while teaching the lesson.  During the debrief (which usually occurs during lunch or a common planning time) we first focus on what the students were doing.  We assess the problem we presented to students, analyze the different types of responses students provided and we determine where we are going to go next.  For example today, we concluded that our students are ready to move on to adding and subtracting larger numbers.  We also noticed that many students use place value algorithms to solve addition math problems, but they don’t understand why they are “carrying a 1 over.”  We decide that we need to review grouping and tens and ones with my class.

After we have decided on our next instructional steps.  We then reflect on the Lead Teacher’s instruction.  How were the questions?   Is there a different way we could ask students a particular question?  How might we phrase questions in our next lesson?  On the days that I am part of a co teaching experience, I leave for home feeling confident about where I am headed in my math instruction and committed to following through on the next steps that were collaboratively planned.  For the next co teaching lesson, teaching roles will be reversed and I will be the Lead Teacher.

My teaching partner and I both value this professional learning and instructional strategy.  We are now looking for creative timetabling ways to make co teaching part of our literacy program as well. If you have an opportunity to participate in a co teaching experience, I strongly encourage you to go for it!