Lucy Books

Writer’s Workshop in Kindie

Writer’s Workshop seems to be integrated into many of today’s classrooms during literacy periods. In Kindergarten, we start our mornings off with Writer’s Workshop, each and every day. We are using the Lucy Culkins’ Writer’s Rainbow model to help our young writers. We know, and believe, that all students are writers.

Throughout the year, we will be using Lucy Culkins’s books to help teach our young students about different types of writing, and allowing them the opportunity to write as well. First, we have started off with Non-Fiction Writing, and have been focusing on “small moments”, where students are to write about something that happened to them yesterday, last night, or even this morning. The writers in our room vary from those whom only draw pictures, to those who add much detail in both their pictures and their words.


We are now moving toward Fiction writing, where my students are now authors and are creating their own Gingerbread stories. Because we have been completing a unit on the Gingerbread Man (and how he ran away from our oven here at school), students created their own versions of the Gingerbread Man. Some students chose to write about a Gingerbread Princess, A Gingerbread Alien and even a Gingerbread Superman. The pictures and details they have come up with are just fantastic!

In all of our Kindergarten classrooms, we have Lucy Culkins’s Writer’s Rainbow posted (see picture). Each different colour of the rainbow shows a different stage at which students are at with their writing. It is a great way not only for us as teachers to see where our students fit in, but also for students to self-assess their work.

If you have not heard of or read about Lucy Culkins’s work, you should. She gives simple and practical ways to set up and use Writer’s Workshop in your classroom! Happy Writing!


Making the Change

As my Grade 3 LTO came to an end on a Friday, and my new Kindergarten LTO started the following Monday, I needed to change from Grade 3 mode, to Kindergarten mode in just a weekend’s time. As I have taught Kindergarten before, I knew what to expect. However, I knew it would take some time for myself to become familiar with the new classroom routines, the new students as well as the Kindergarten program that the teacher had already implemented. Because I will only be working this LTO for 3 months, I felt it was really important to make the transition as smooth as possible and to continue with the type of program the teacher had already implemented. I felt this was extremely important to keep some sense of normal for the students, as the adjustment to a new teacher would be more than enough for them.


The Week Before:

  • I felt extremely lucky that my principal gave me some extra coverage time the week before I started my new Kindergarten position to go into the classroom for 2 half days to meet the students, meet some of the parents and see the program in action. I felt this was so beneficial not only for me, but for the students as well
  • Students got a chance to meet me, and they knew a head of time that I would be their new teacher, so that hopefully eased  the anxiety and helped the transition from one teacher to another
  • I was able to see exactly how a day in this Kindergarten classroom was run

The Week I Started:

  • The week I started teaching Kindergarten, the students were very excited since they had already met me. I came to school with students bringing me pictures they created as well, showing/telling me how excited they were I was their new teacher
  • I hardly changed anything in their room or the program, and just continued teaching what the current teacher had been doing
  • I started giving some diagnostics to the students so I could really see where each of my students were at
  • As I have a lot of ESL and ELL students in my class, I also downloaded a translation app on my iPhone, which helped me interact and speak with my Spanish speaking students
  • We also reviewed our classroom rules and created some carpet rules, to make sure students knew what was expected of them and to show them that I knew/was familiar with the rules they already had in place in the classroom
  • I wrote an introductory letter home to parents, so they know who I am, what my teaching experiences are, and how they can communicate with me (which I got a lot of positive feedback from).


Overall, I feel the transition was quite seamless, and I think the main reasons are because:
1) My principal gave me time to go into the classroom before I officially started my new position, in which I was able to get to know and start the bonding process with my new students

and

2)  I kept the program the same, so the students did not have to adjust to too many things at once. With young students, especially Kindergarten students, I feel it is important not to change everything because it will confuse them and may take away their sense of community/ownership that has already been created in the classroom.

Student Led Conferences

The past 2 weeks, I have been preparing my students for Student-Led Conferences, since the Progress Reports were sent home, and conferences were set for this past Friday.

I have never done or seen Student-Led Conferences before, and what an amazing experience it was. Yes, it does take a lot of prepareation for the students, but after a lot of feedback, the parents really enjoyed it.

What Are Student-Led Conferences?
Instead of the formal Parent-Teacher Interviews, my school board has taken the approach to doing Student-Led Conferences, which enables the student to take full responsibility for their learning, and they choose things to share with their parents that they are most proud of and some things they feel they need to work on. They also choose a Learning Skill that they think is the best, as well as a Learning Skill that they need to improve upon.

Preparing My Students for the Conferences:
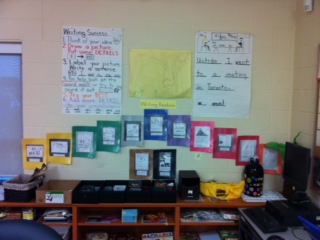
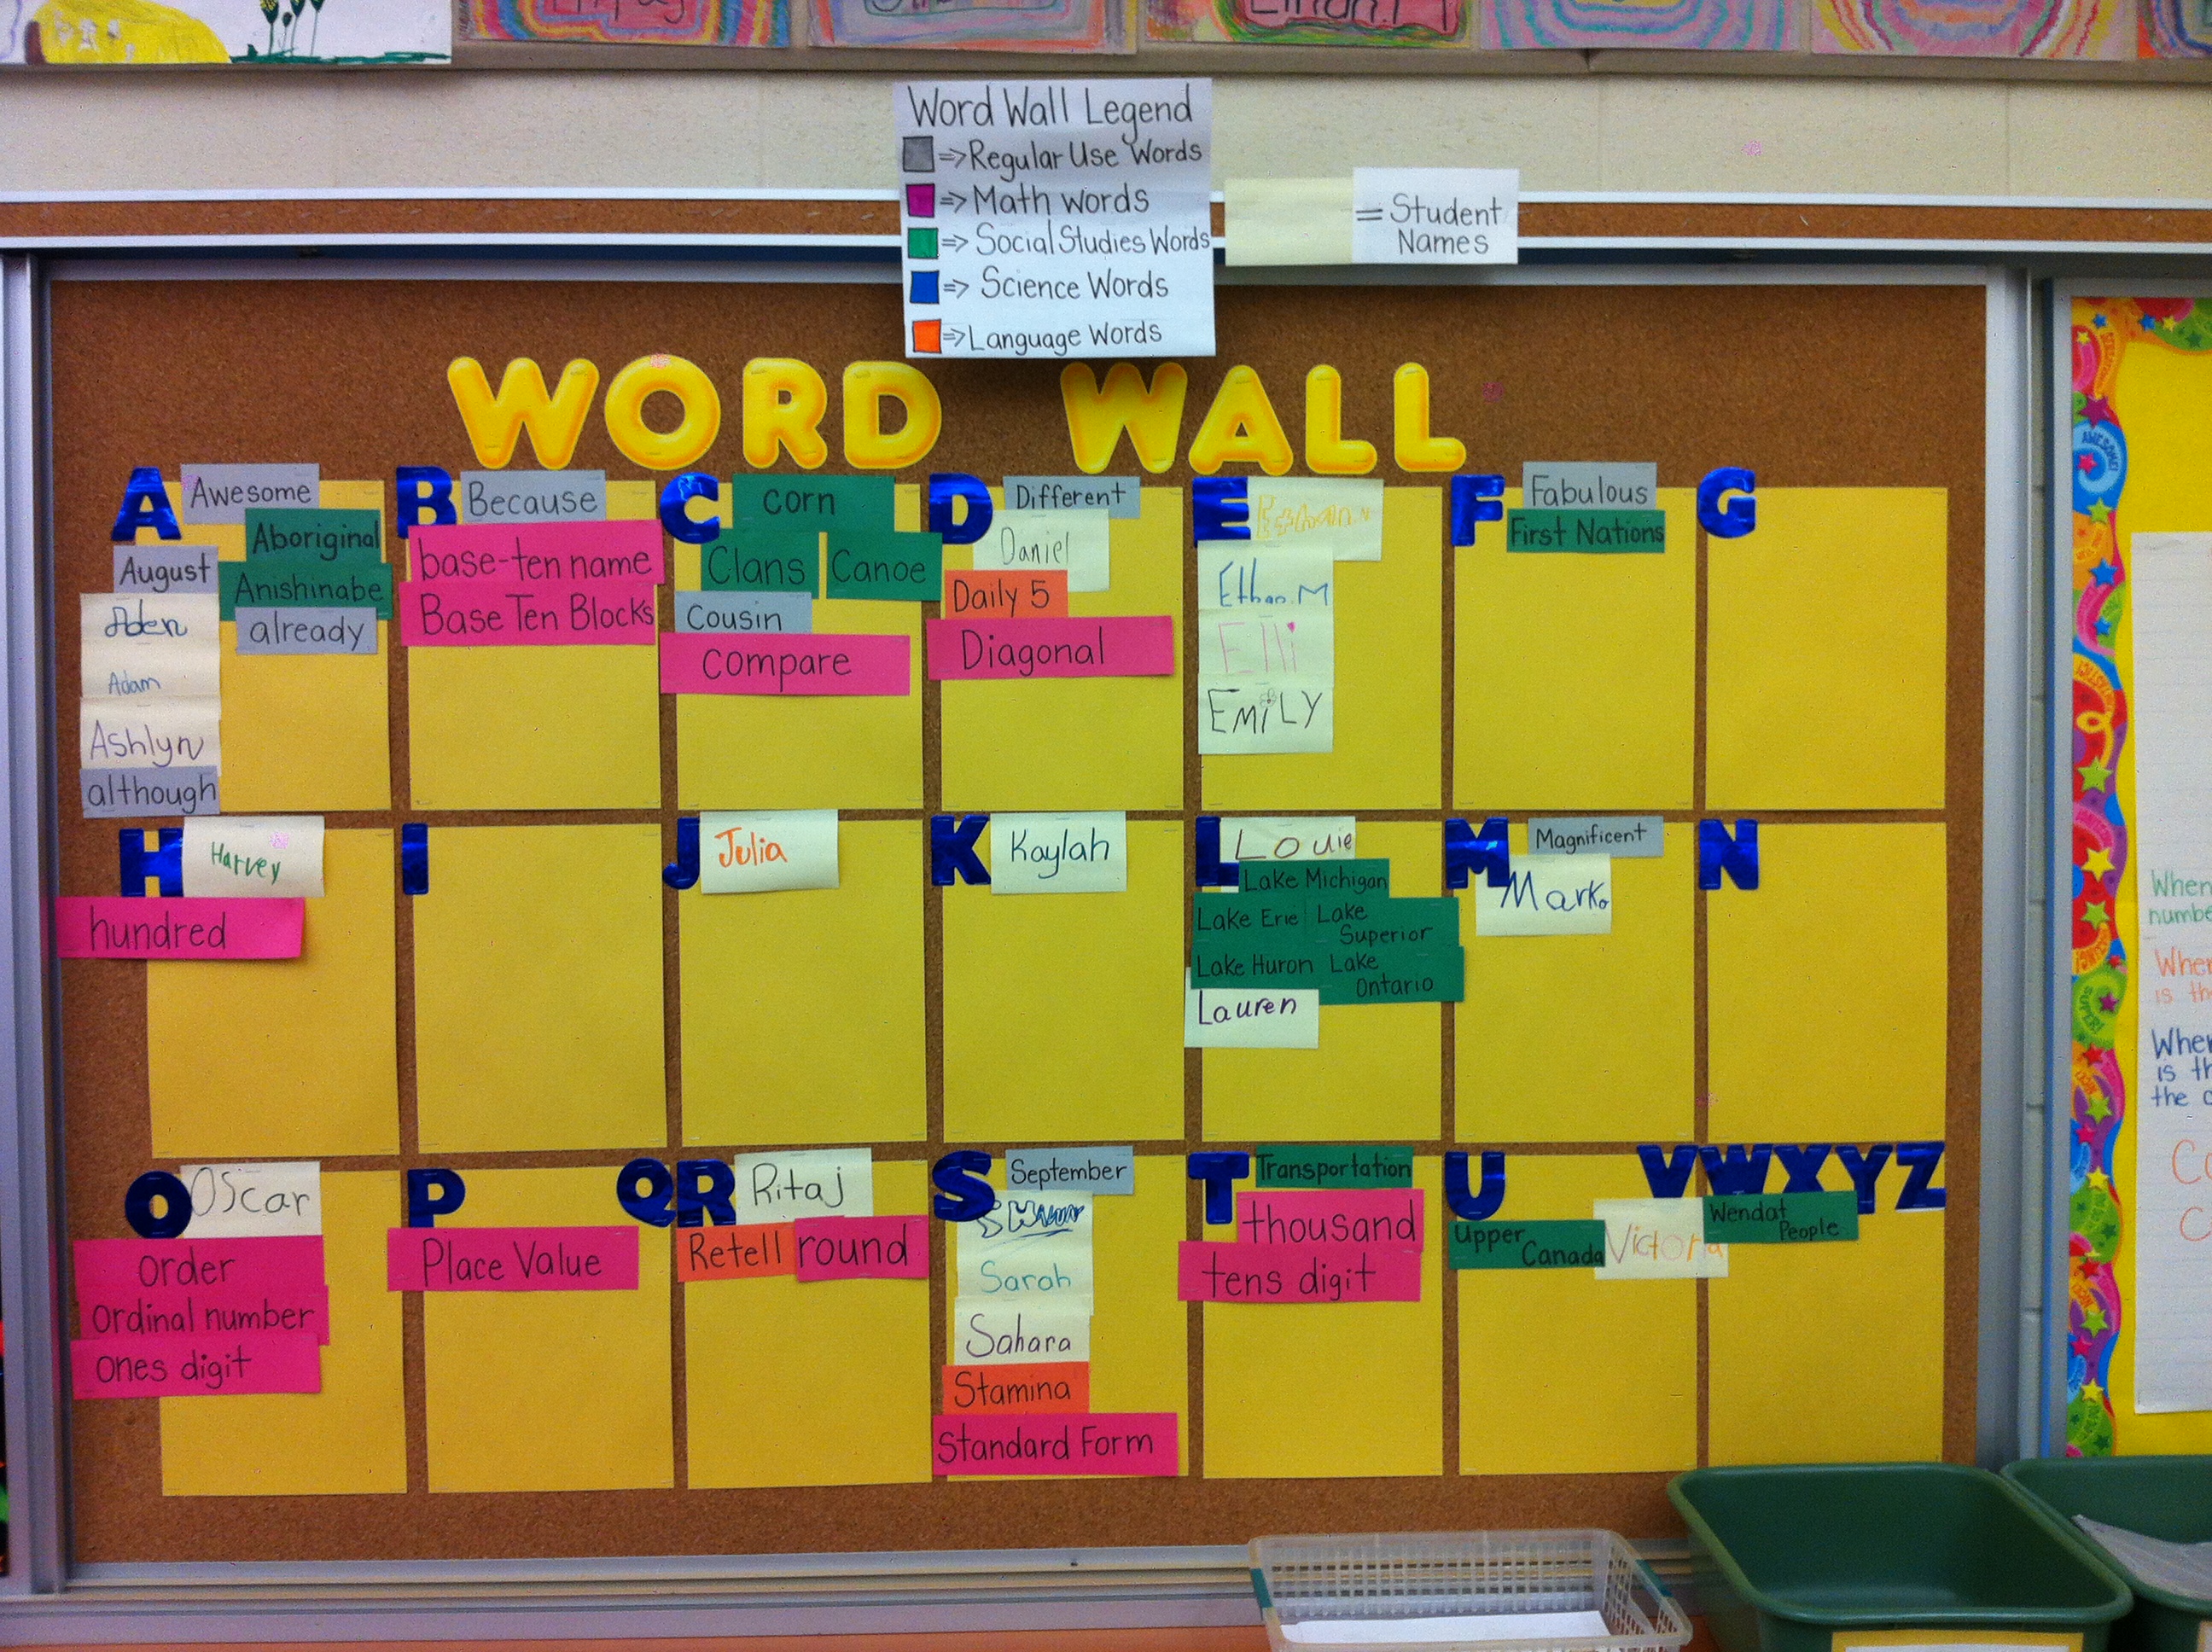
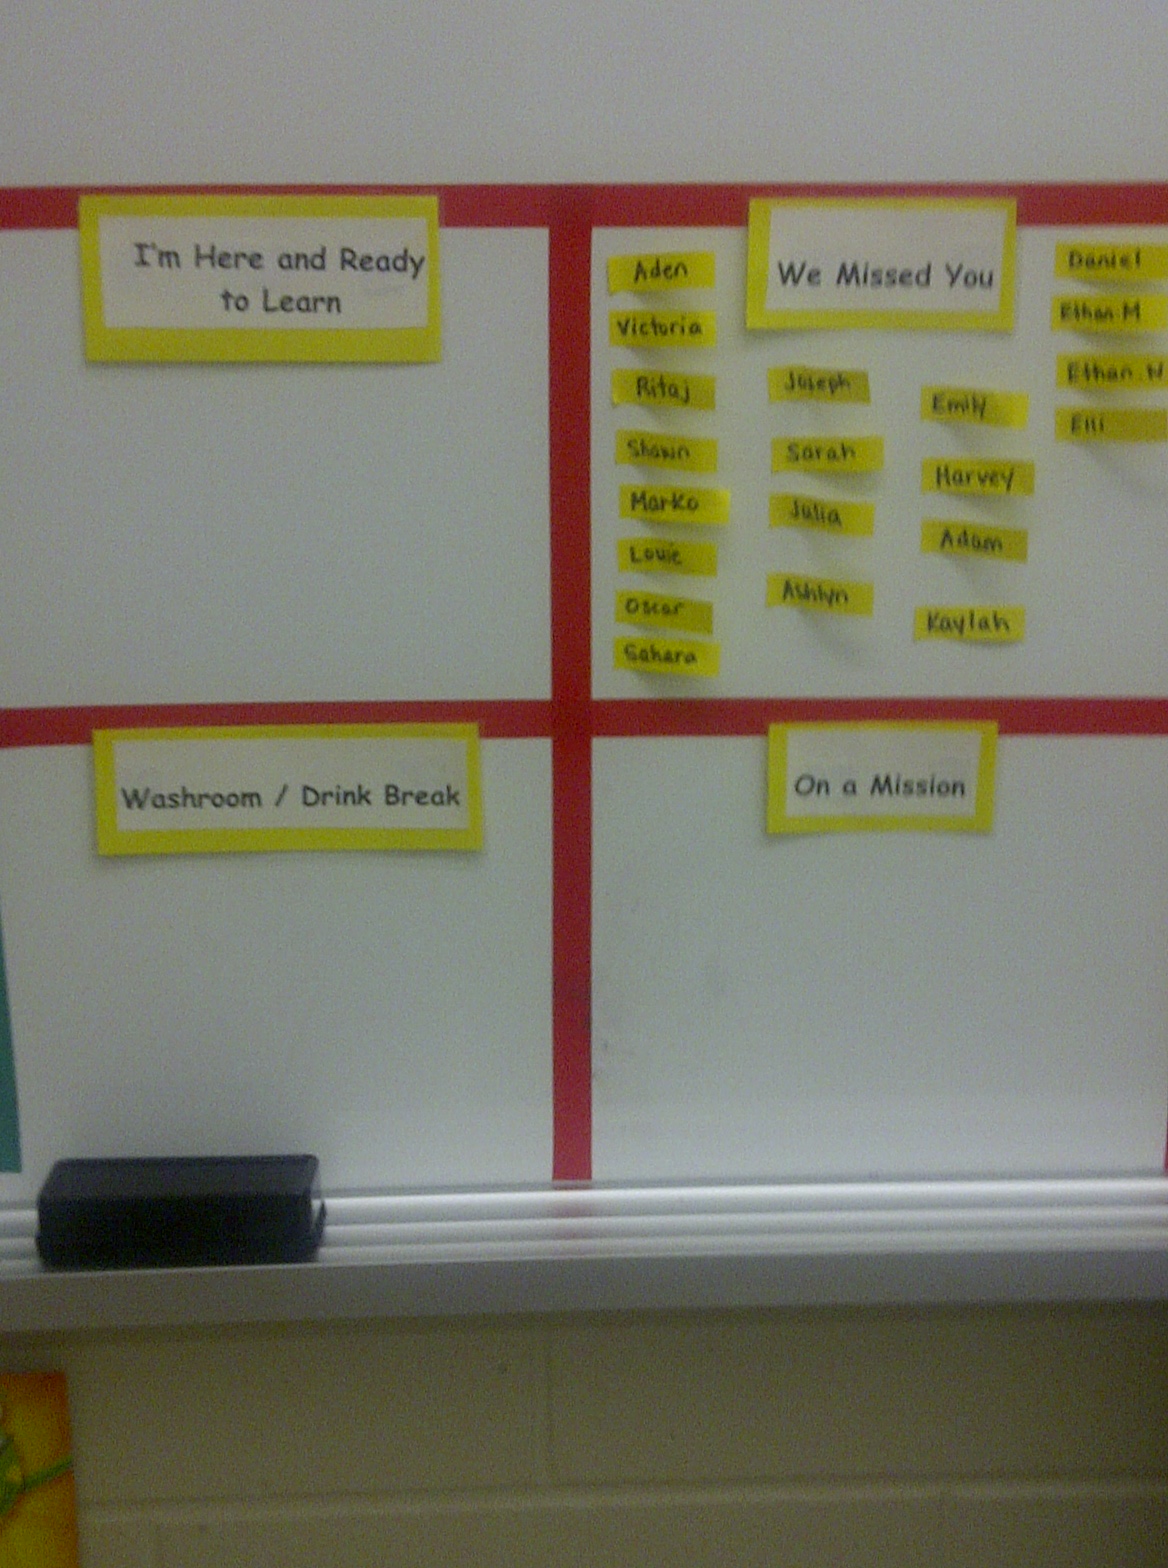
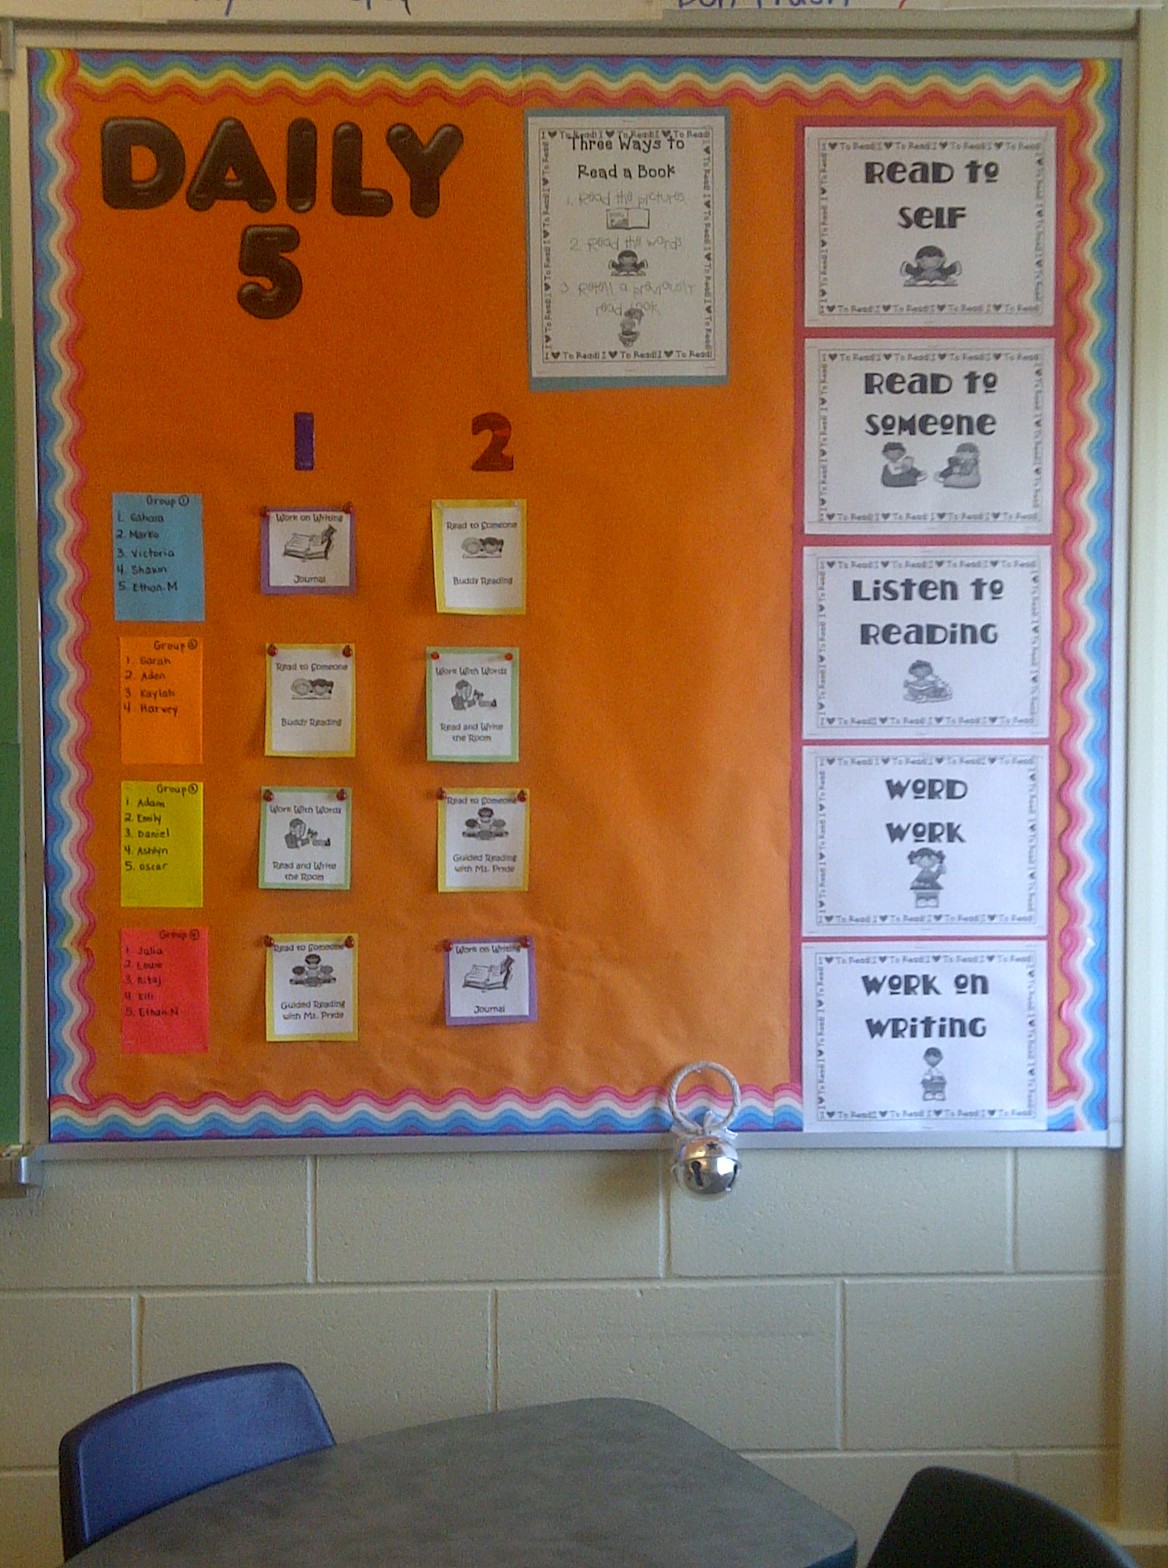
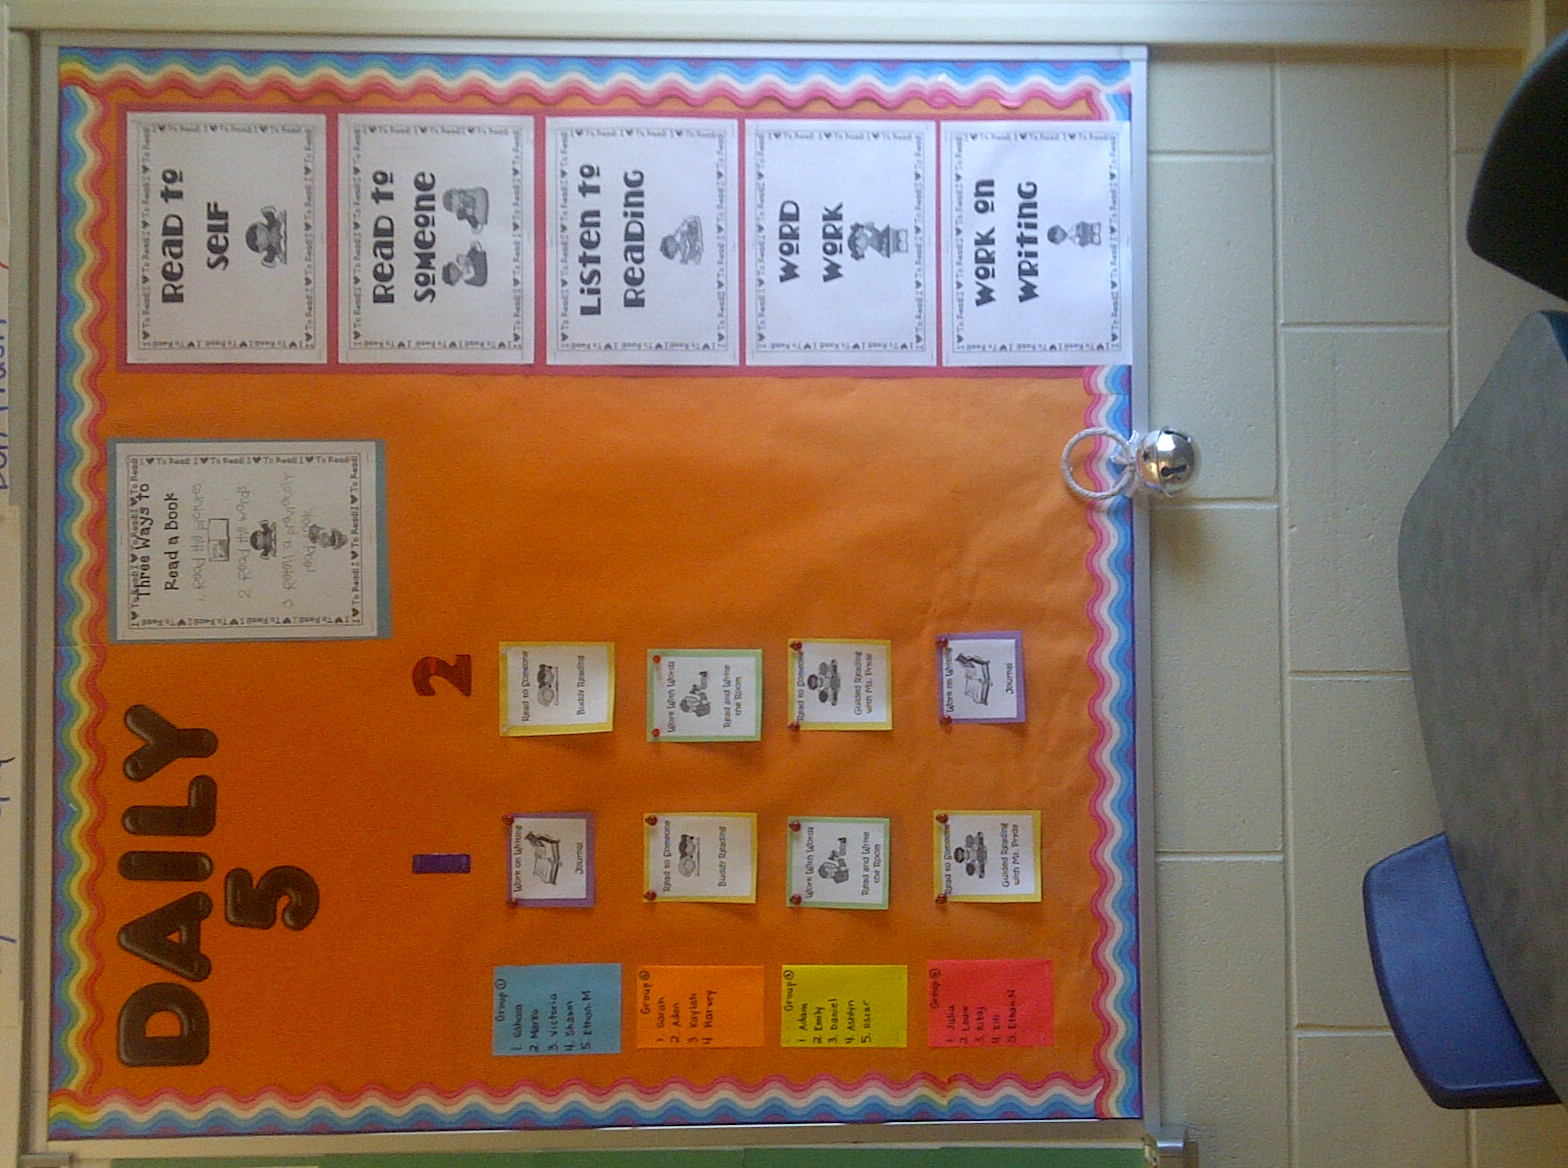
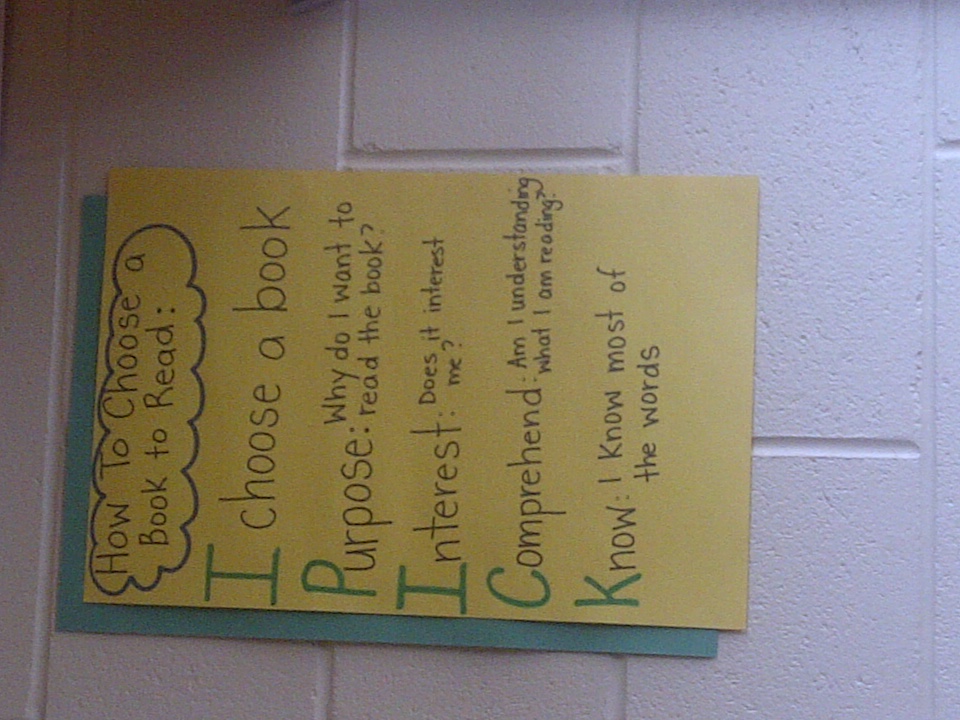
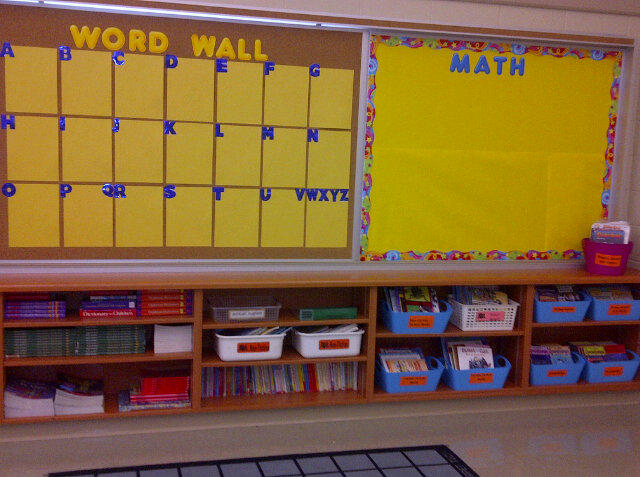
Two weeks prior to the Student-Led Conferences, we began preparing ourselves for these conferences. It does take a lot of time and preparation, but the outcome is wonderful! First, I laid out all the work my students have done so far. I explained to students that they would look through their work and choose 2 things they were most proud of (could include anything but most were Social Studies Tests, Math Tests, Journal Entries, and Daily 5 Work), and 1 thing they felt they needed to improve upon. Once they chose their 3 items, they were given 2 “star” papers where they wrote why they were most proud of this pieve of work and why (they had to be specific-because they looked at the Word Wall to help them spell, they studied really hard for a test, or they used the Success Criteria to help them in their writing…). Then, students were given one “Next Steps” paper where they wrote about why they feel they needed to improve upon that piece of work, and what they can do next time (use the Editing Checklist, use the Work Wall, etc.).

As a class, we then reviewed the Learning Skills and what each skill means. We brainstormed (and reviewed) some examples about what each Learning Skill looks like here at school. Then students chose which Learning Skill they felt was their best, and explained why using examples, as well as choosing a Learning Skill that they needed to work on, and explained what they can do to improve upon this Learning Skill.

Once all the writing was complete, I created a script that students practiced so they knew exactly what to say, and when to show/explain their work. For many days, students would practice reading this script and showing their work independently, to a partner, in a group, and even their Reading Buddies. We encouraged students to take on different roles as well, to prepare them (i.e. one student would be a mom, one would be a dad, and the other would present to them).

When it came time for the Student-Led Conferences, the students ran the show. They took full responsibility, and THEY were the ones explaining to parents why they need to improve upon the work they chose, and even asked how their parents could support them at home. I feel that the student saying this to their parents is much more powerful than if I were the one saying it. Parents really enjoyed seeing their child’s work, and were excited to come up with ways that they could support their child at home. Overall, the Student-Led Conferences were a huge success at my school, and it was really great for the students to be so enthusiastic about the work and learning they have done thus far!

Student-Led Conference Script:

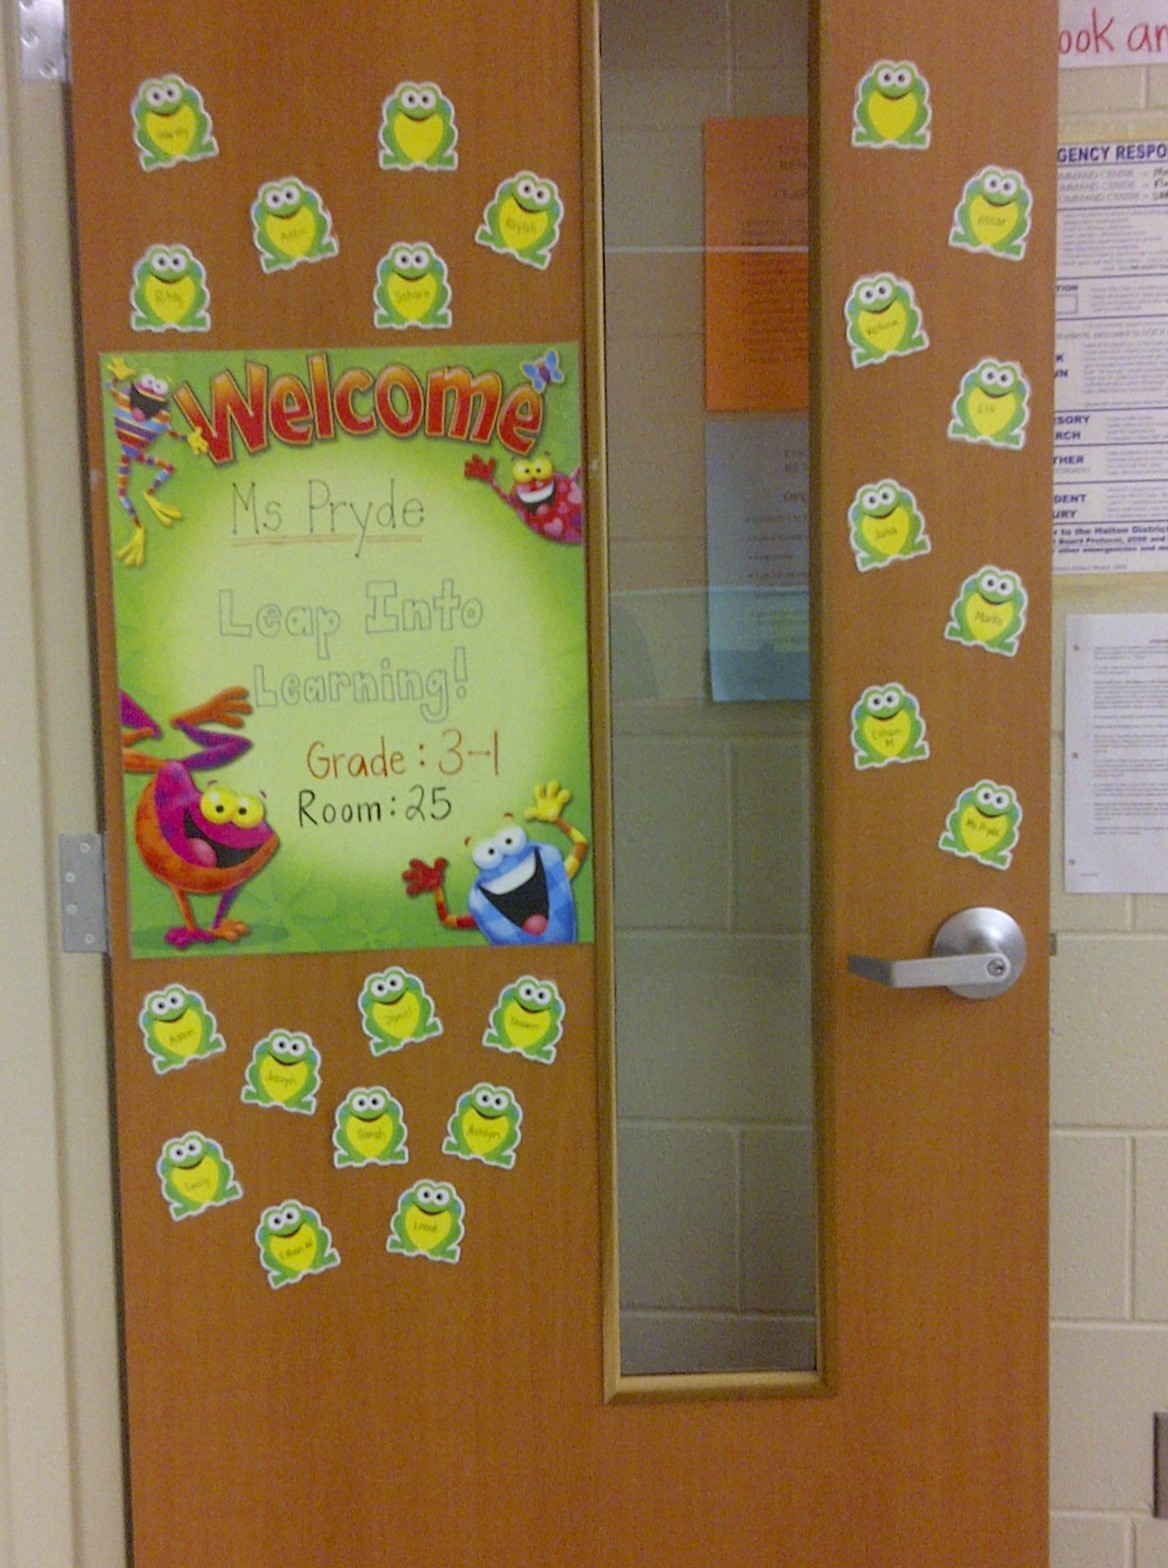
Introductions: “Hello, Ms. Pryde. This is my _______ and my _________.”

Explanation about the Conference: “I am taking responsibility for my learning. Today, I will be showing you the accomplishments I have done so far at school. I will also be showing some work that I feel I need to improve upon, and will be asking for your input about how you can help me in reaching my goals at home.”

Showing of the Work: “This is one of my best pieces of work because __________________.

I also chose this piece of work as something that I am most proud of because __________________.

I feel that I could improve upon this piece of work because _____________. I think I can improve on it by __________________________________.

I think my best Learning Skill is ________________________ because _______________________________________________.

The Learning Skill that I think I can improve on is _______________ because _______________________________________________.”

Conclusion: “Thank you for coming to my conference. Is there any questions or comments for myself or Ms. Pryde?”


A photo of the outdoor

Outdoor Education

Outdoor education is something I have been trying out this year in my Grade 3 classroom. I have tried giving my  students opportunities to use the outside world to explore and learn from it. As our first social studies unit was  First Nations people, we decided to go for a class walk to a nearby forest/pond area near our school. We took  some time to explore and look around at the environment we saw around us. After some exploration, we came  together and had a community circle to discuss things we have seen. We pretended to be First Nations people,  and discussed things we would use in our environment to survive (trees for building our homes, ducks for food,  water for drinking water, etc). It was a great experience, and students were able to make social studies  connections to the environment around them.

Although I have been trying out some of the outdoor education ideas, I felt I needed more. So, I signed up for an  Outdoor Education Workshop. It was called Outdoor Education: Look and Learn, which was provided to me  through my school board, Halton District School Board and Royal Botanical Gardens in Hamilton, Ontario. The  day started off with us playing some outdoor games, which came from the Project Wild resource book. Then, we  went on a hike where we were able to use our 5 senses and explore the environment. We all used our cellphones,  or were given cameras to take pictures of things that interested us. It was a rainy/foggy day, so we were able to  take some beautiful pictures. After some exploration, we were given some birds seed and these chickadees flew right down to us and ate the seeds from our hands. As adults, we were so excited about this, so I could only imagine how our younger students would have enjoyed this.

We were all assigned to choose a few leaves that stood out to us and share what types of activities we could do with them. The leaves were so beautiful with bright orange and red colours. Some ideas were to sort them leaves based on different properties, use the leaves for art (making leaf turkeys for Thanksgiving, or leaf rubbings) and using the leaves for math by looking at symmetry.

It was a wonderful workshop, I learned many things and felt more confident about doing outdoor education with my students. We also were given some wonderful resources. If you are interested in reading more on Outdoor Education, please check out:

Into Nature: A Guide to Teaching in Nearby Nature
http://www.back2nature.ca/resources-research/education

Happy Exploring!!!

Word Wall Bulletin board

Cross-Curricular Word Wall

As some of you already know, when going for an interview, some type of comprehensive literacy question typically comes up. I have thought long and hard about my answer and I have got wonderful feedback based on my answers (I got got my current LTO simply because of my comprehensive literacy answer). One thing that I think is so very important is to show that you, as a teacher, enjoy cross-curriculum, and bring literacy into all of the other subject areas.

One way I have done this is by having a cross curricular word wall. I have created a legend that is on top of my word wall that explains to its readers what each colour of paper means. For example, Grey is the regular, everyday use words, pink is math words, green is social studies words, blue is science words, and orange is language words. I have yellow post-it notes as the students’ names. As we are still building up our word wall, there are not too many words, however, you start to see how the different colours add to the word wall and you can really see how to bring literacy into all the subject areas.

Bulletin board divided by 4 sections

Classroom Management Tools

As a supply teacher, I was constantly in and out of different classrooms on a daily basis. I found so many great ideas that I knew I would use (or modify) when I got my own classroom. I believe that classroom management is key! It not only helps students feel that they are in a welcoming classroom, but it also diminishes the behavioural problems that could occur in any of our classes today. I created a monitoring device in my classroom to help with my classroom management. I have placed each students’ name on a piece of paper, that has been laminated with a magnet on the back. Students are responsible for moving their own name on the chart throughout the day. On my whiteboard, I have made a small area that has 4 boxes, which are labelled: I’m Here and Ready to Learn, We Missed You, Washroom/Drink Break, and On a Mission.


Each morning, students will move their name from We Missed You (those names that stay here are because the students are absent from school) to I’m Here and Ready to Learn. By using this, it makes it very easy to quickly look at the board while completing the attendance and knowing immediately who is and who is not at school. Whenever students need to go to the bathroom or get a drink, they move their name to Washroom/Drink Break, and when they return, they put their name back to I’m Here and Ready to Learn. This is a great tool to use when other students ask to leave the classroom, you can take a quick look at the board and see whether any other students are out of the room (as we have a rule that only 2 students from each class are allowed to leave the room at a time). Likewise, if students are out of the room “On a Mission” such as dropping off the attendance, getting something from another classroom, etc. then they will move their name to On a Mission. Upon returning to the classroom, they move their name back to I’m Here and Ready to Learn.

My students really seem to enjoy using this chart as well. Students can work on their self-regulation by moving their own name to whatever box they need to. I have had a lot of teachers in and out of my classroom as coverage, and they all enjoy using this chart as a monitoring system. Many other teachers have also adopted using this in their own classrooms and I hope you do too.

I also created an anchor chart to remind my students what they need  to do every morning. It is October, and my students are FINALLY getting into the routine, however, it did take quite some time. After the first week of school, I got the idea to create a Morning Routine anchor chart that helped students remember what they need to do in the morning upon entry.

A bulletin board with notes about reading and listening

The Daily 5

 This year, the initiative our Primary Team has taken on in regards to literacy, is implementing  The Daily 5 and CAFE. For those of you whom are unfamiliar with the 2, they are based on books  written by “The Sisters”, Joan Moser and Gail Boushey. These books are a great (easy) read and  gives you a wonderful basis and understanding of the 2 concepts, and how to set it up in your  classroom.  The Daily 5 is a framework that allows students to participate in 5 different activities  each and every day: Read to Self, Read to Someone, Listen to Reading, Work on Writing and Work  on Words. CAFE is an acronym standing for C- Comprehension, A- Accuracy, F- Fluency and E-  Expanding Vocabulary, and are the strategies good readers and writers need to be successful. The 2  work very well and I feel, go hand in hand with one another. If you buy (or read) both books, they  give you examples of how your first few days will look like when you are setting up the program in  your classroom.

Since the 2nd week of school, I begun implementing these programs, one by one, illustrating what each Daily 5 looks like. We also created anchor charts that have been posted around the room illustrating the “expectations” both students and teachers have during our literacy block. Our chart is set up with the headings Students Do vs Teacher Do. Many of the activities are very similar in what the students and teachers are expected to do. Students, for the most part, are expected to work the whole time, remain quiet, work in one spot, get to work right away, and have fun! The teacher is expected to work with students at the guided reading table, conference with students, and watch/listen to how students are reading/writing.

The first concept I introduced to my class was Read to Self (independent reading). When we were practicing,
we were working on our stamina. This means, how long our brains are working without any breaks. Students should be reading for 20 mins each day, but first, we needed to build up our stamina, to reach the 20 mins. My students are quite fabulous, and really enjoy reading and it only took us 7 days to reach of goal of reading for 20 mins consecutively without any breaks. I encourage my students to have 2-3 books with them at their desk so if they finish a book before the 20 mins is over, they will have some more books at their desks so they can continue to read without stopping and interrupting others by getting a new book. Then, we moved  to Listen to Reading, which is when I introduced our class read a loud. I brought in all my old Goosebumps Books for our classroom library, and my students are now obsessed with them. So, we took a classroom vote, and our first read a loud book was a Goosebumps Book- The Ghost Next Door. Then, we moved on to Read to Someone. How I set this up in my classroom, was by practicing buddy reading. We discussed how it looks like when you are reading to your buddy and EEKK (Elbow to Elbow, Knee to Knee). We did this for 2 days, and built up our Read to Someone stamina of 20 mins. Then, I introduced Work on Writing, where students had the opportunity to write in the writing journals. We created success criteria for journal writing, so students knew exactly what was expected of them when they wrote in their journals. Finally, I taught a mini lesson on syllables, and our Work on Words introduction allowed students to add their names to the class word wall, and they needed to sort all the students’ names based on the number of syllables in each name.

    Once we went through all of the lessons and talked about what each Daily 5 looked like, as well  as modelling some of the CAFE strategies (such as Check for Understanding, Choosing Good Fit  Books and Go Back and Re-Read), we started our Daily 5 centres last week. The Daily 5 is all about  choice, but for the first week, I decided to split my class into groups and they rotated through the  Daily 5 centres so they could become familiar with the whole process. In our 100 minute literacy  block, my students have the opportunity to be engaged in the Daily 5. My students first start off with  Read to Self, where they read independently for 20 minutes. Then, I ring the bell which is an  indicator to my students that they need to quickly tidy up and meet me on the carpet. Then, I teach a  mini lesson on the CAFE strategy that we are currently working on. Sometimes, I read a read a loud  picture book to my students and either model how to use the CAFE strategy, or get students to help  me with it (so it becomes a shared reading and shared use of the CAFE strategy).     
Once the lesson is  complete, students are told which centre they will start off with. Students will rotate through 3 centres in one day. Last week, our centres were: Read to Someone (Buddy Reading) or Read to Someone (Guided Reading with Ms. Pryde), Work on Writing (journal writing which integrated with Social Studies- If I were a First Nations person, I would live… I would eat… I would travel by…), Work on Words (Read and Write the Room) and then I would finish off the 100 minute literacy block by reading a few chapters from our chapter read a loud book. Students spend 2 min at each centre. Next week, now that the students have had the opportunity to complete one complete rotation of our Daily 5 centres, students will be able to choose which centre they will go to and will keep track of which centres they would like to go to (a great Responsibility indicator, for students to make sure they go to each centre at least once, as well as keeping track of it on their own).

So far, it has been a success in my classroom and I look forward to seeing how it will look like in my classroom this week!

Classroom Set-Up

Setting Up My Grade 3 Classroom

A week and a half before school started, I accepted a Grade 3 LTO position at Joshua Creek Public School in the  Halton District School Board. As this was my very first experience having to set up my classroom and start the  school year off with my own class, I was a bit nervous yet very excited. I spent numerous days setting up  classroom, from bulletin boards, to desk groupings to our classroom library. I never knew how much time this  can take, but I feel it is key to have a welcoming class for student arrival.


How did I create a welcoming classroom?
* Posting a “Welcome” sign on my door with my name (Ms.  Pryde), room number (RM 25) and class designation  (3-1).  My welcome sign had frogs on it,  so I also wrote a catch  phrase of “Leap Into Learning”, and had small  frogs posted  on the door with each students name written on them
* Having students names posted on their locker and desks,  so they knew where to put their belongings
* Having colourful colours on my bulletin boards
* Labeling the classroom with pictures and words, so all students know a) where they can find things and b)  where things go (i.e. pencils, markers,         rulers, dictionaries, pencil crayons, erasers and I also labeled the  book bins in our classroom library)
* Created a central meeting place, which includes a carpet for students to be seated at

 As my school is a TRIBES school, I put my students in groups- 4 groups of 5 students. I also tried to ensure that  each group had roughly the same number of boys and girls (luckily, I was quite successful at this as I have very  close numbers of boys and girls). 

While setting up my classroom, I envisioned the different uses of my  classroom. So, I included a central meeting carpeted area with an easel  for modelled and shared instruction, as well as a comfortable place for  community circle or reading independently (or with a partner). I also set  up my guided reading table with chairs for my students. Textbooks,  dictionaries, classroom library books, clipboards, math manipulatives  and indoor recess games are placed on the shelves which are at student  level. I set up our listening area, with a stereo, audio books and  headphones, as well as a place for our classroom computer.

Overall, I was very pleased with my classroom setup, although it was a lot  of hard work! Luckily, my students really enjoy our classroom and I know  that all my time and effort was well worth it!