With #BellLetsTalk day coming to a close, I thought I would talk a bit about how to address mental health in the classroom and why it is so important. No matter what the grade, it is essential that you model healthy behaviour, and teach strategies to deal with stress and talk to your students about mental health. There are obviously different levels of this and you would gauge that based on the group you have, but no matter what, it should not be ignored.
Last year I was having some personal mental health struggles. My physical health was fragile and I had been given some potentially very bad news about the possible outcomes for my physical health. This, combined with other issues that were weighing down on me, caused my mental health to really buckle under the pressure. I remember one day going into my class of Grade 2s and sitting on the carpet to do Tribes Tribbles. This is an activity where you pass around a card with 5 furry creatures on it and each student completes the sentence, “I’m feeling ______ today.” The blank is a colour and that colour corresponds to one of the characters. Each of the characters has a facial expression and body language to express an obvious emotion (sad, angry, happy, excited, just okay, etc.). The student also had the option to explain why he/she was feeling that way.
This particular day, I started us off. I had been feeling quite down that morning and my emotions were at the surface. Students have the “Right to Pass” if they do not want to share, but I was modeling healthy behaviour by sharing my feelings with a group I trusted. I told my class that I was feeling “blue” today. I decided to tell them why. I explained to them that our hearts are like cups and everything that happens in a day that is upsetting or “bad” is like putting a bit of water into that cup. It makes the cup heavier, and it starts to fill it up. I told them that I had been having a difficult time lately and that my cup was very full. One of my students asked what happened when the up got too full. I explained that everyone handles it differently, but that we often get very upset, and even cry. I then told them that there are ways to empty the cup before it overflows. We brainstormed some ways to empty the cup out – playing with friends, snuggling up with your parent(s), talking to someone about what is bothering you, helping someone else who seems to have a full cup, etc. We also talked about the fact that some of us have big cups, and some of us have smaller cups. So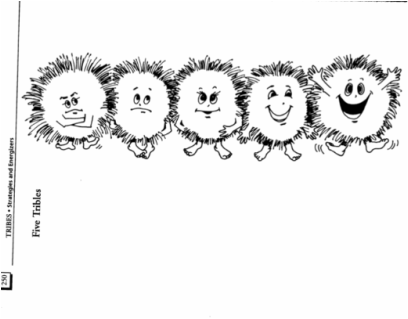 mething that will roll of one person’s back, might cause another a great deal of emotional stress and pain. It all has to do with the size of their cup. This made the whole concept of feelings and handling bad feelings more concrete for them.
The most significant part of the whole activity for me though, was that my students could see that I was feeling blue. I was having a tough time. I had been for quite a while. As we went around the circle so that everyone else could have a turn with the Tribbles, my class did something I will never forget: they overflowed my cup and emptied it all at once! They shared their feelings with me in a way that filled my heart with such joy, as I knew they understood the importance of sharing, talking, and supporting each other. They said things like, “I feel blue because my friend is feeling sad today and I don’t know how to help him.” By the end of the circle that day, I was sobbing. My cup was almost full when we started so I knew it wasn’t going to take much. We did Tribbles almost everyday last year and I loved it. It doesn’t always start off in a deep, emotional place, but when it gets there, it is pretty incredible.
I feel like Tribbles or something like it lays a solid foundation for conversations about mental health and feelings in general. This is an activity that can be done from Pre-School up. It is non-threatening and a very positive way to share highs and lows in a non-threatening way.
Watching so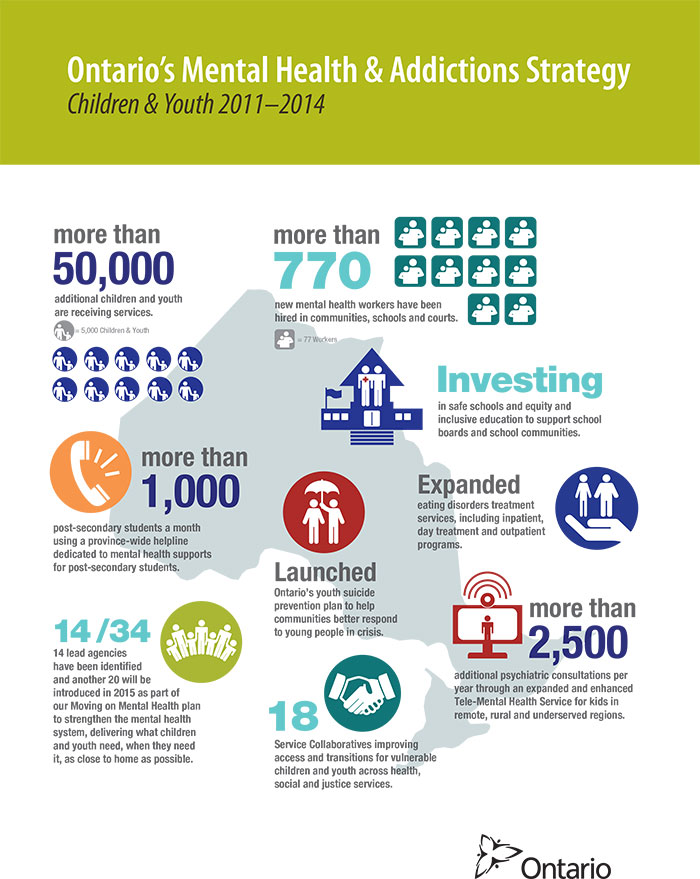 cial m
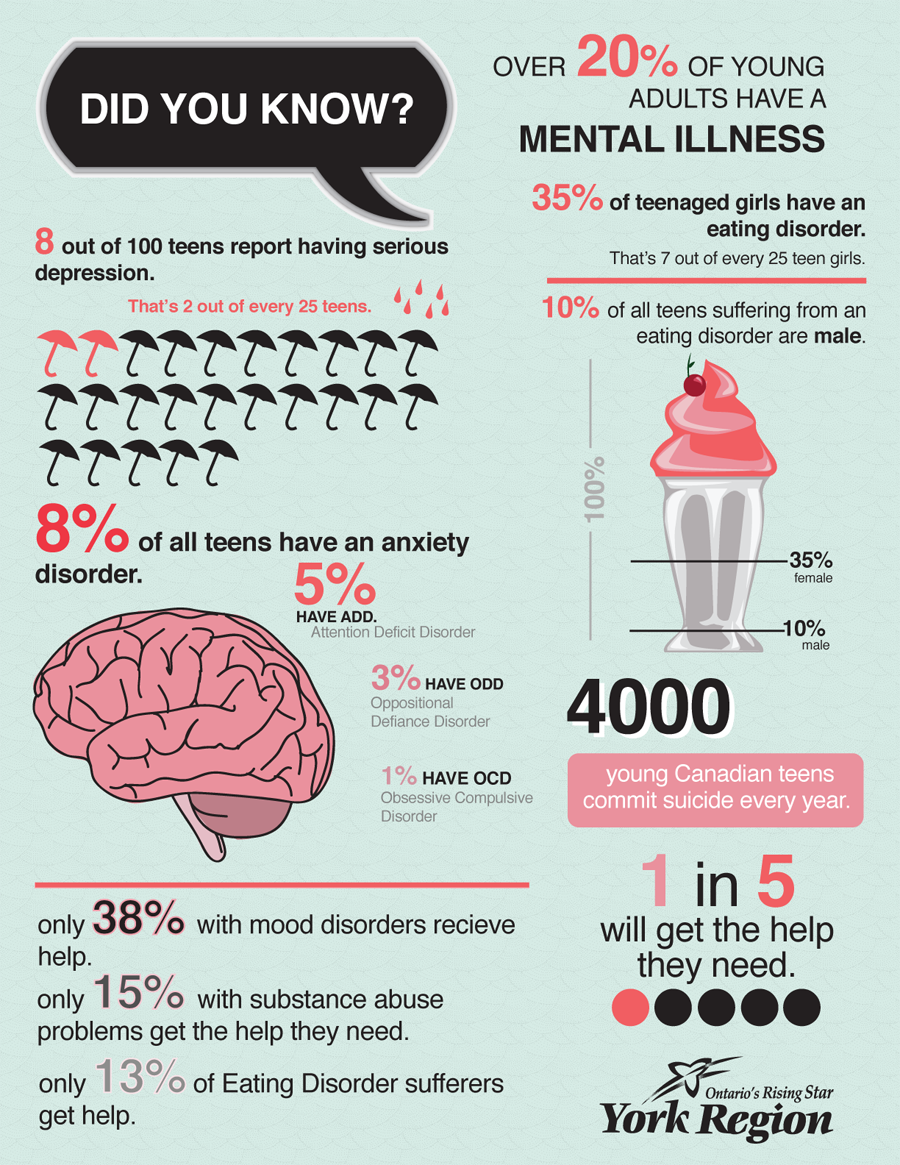 edia on a day like #BellLetsTalk makes it so clear that there is still a lot of work to be done to educate around mental health. I have included some infographics that were shared today that I found particularly interesting/shocking. Let’s get the conversation started when they are young and the stigma isn’t there!