I enjoyed reading Sangeeta’s blog and the meaningful themes that her students are learning about in her classroom. When she says, “there are some conflicting opinions about the use of themes in teaching” it is more likely the use of themes that lack relevance, scope, and purpose, such as a theme devoted entirely to apples or penguins. The themes that Sangeeta have chosen are meaningful to her students and it is evident that she has selected them as the needs of her students have emerged throughout the year.
In my Grade 1 and 2 class we are learning the curriculum using similar themes, though we call them big ideas. These big ideas are umbrellas for the various subjects and strands that we are working on. The big idea provides a lens to consider our world. I used a question format for the students, asking them “What is hope?” at the beginning of the 2 month inquiry, then again at the end.
Here are my reflections on the first big idea that we embarked on back in September:
By recording the children’s responses I could see that the children had similar ideas of hope as wanting or wishing, such as “I hope I get a new toy.” Only one comment (made by L.) seemed to differ in that it touched on worry or care for others. The children need an opportunity to consider hope in a deeper context. I looked at the sub-questions developed in connection to the Science and Social Studies curriculum, Why is hope important to our community? How is hope different for other communities around the world? How do the sun, air, and water (as energy/life source) give hope to people in our community and other communities around the world?
I needed to find rich texts to read aloud that would provide the opportunity to discuss the idea of hope in relation to our own community and communities elsewhere in the world.
The following four texts became the foundation for our inquiry that were not in the original long range plan:
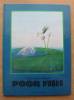 Poor Fish (local and global environment) Poor Fish (local and global environment) |
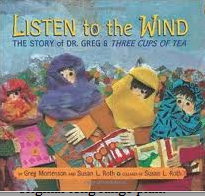 Listen to the Wind (Korphe, Pakistan) Listen to the Wind (Korphe, Pakistan) |
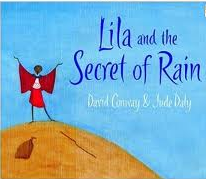 Lila and the Secret of Rain (Africa) Lila and the Secret of Rain (Africa) |
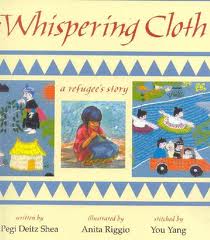 The Whispering Cloth (Thailand) The Whispering Cloth (Thailand) |
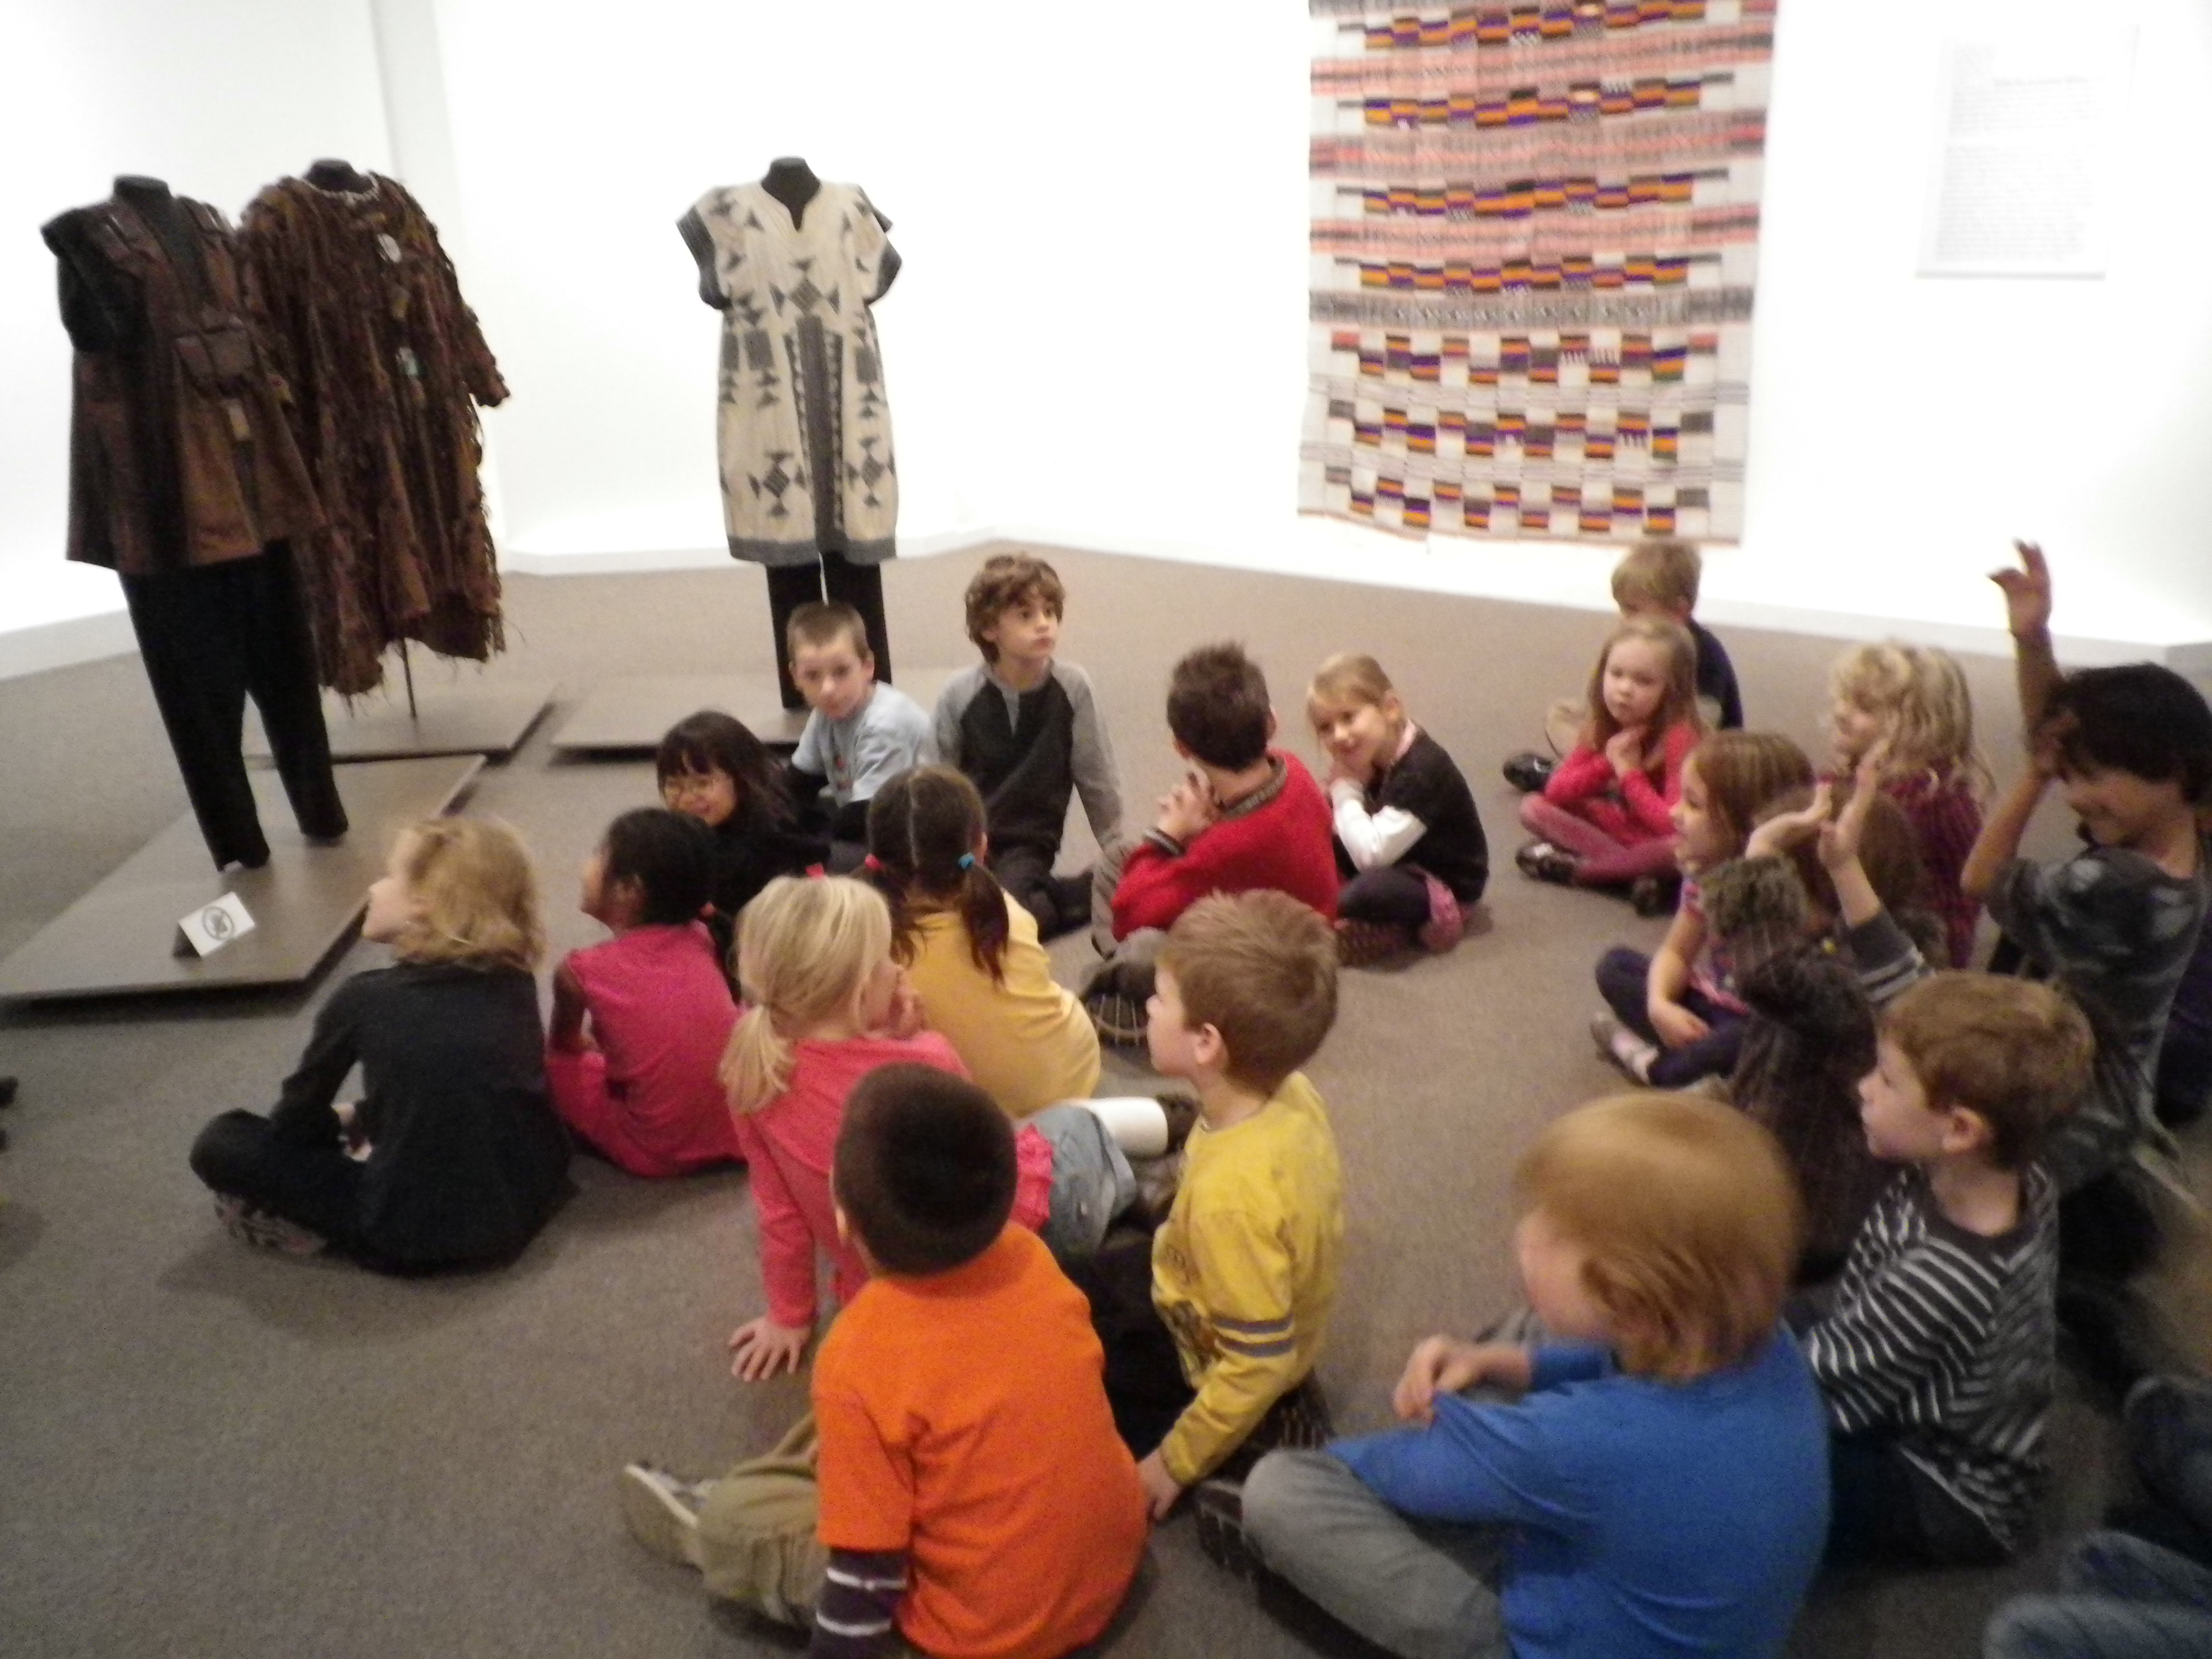
In my long range plans, I had outlined the culminating task as a fabric picture, using a variety of textiles to represent their understanding of hope in the context of their local community (grade one) or another community in the world (grade two). Part of our learning included a class trip to the Textile Museum of Canada. This trip provided us with information about the symbolism and purpose of clothing in African cultures. It also gave the students an opportunity to explore textiles, wool, and weaving in a hands-on area.
 |
After our trip to the Museum of Textiles, extended “inquiry time” in the class to pursue topics and interests at various centers, and discussions around our four foundation books, the children started to make their own observations and connections. Integrating the science curriculum for both grades, which included focus on the sun’s energy (grade 1) and the need for air and water (grade 2) contributed to their understanding of the texts. I asked the children again “What is hope?”
M.: To keep the environment clean.
L.: To build a school.
A.: For rain to cool down the land, fill the wells so people will not die.
M.: To live in a new country; to have a home.
K.: To go to school.
The children’s responses are reflecting their understanding of hope in other contexts. I see them making connections between the books that we read. They are also showing interest in locating the various countries that are the settings for the texts. When we were in the computer lab many of the children searched their country of interest on Google Earth. Some students were surprised to see the snow covered mountainous terrain of Korph, Pakistan. What a difference when they compared the region to their own street where they live.
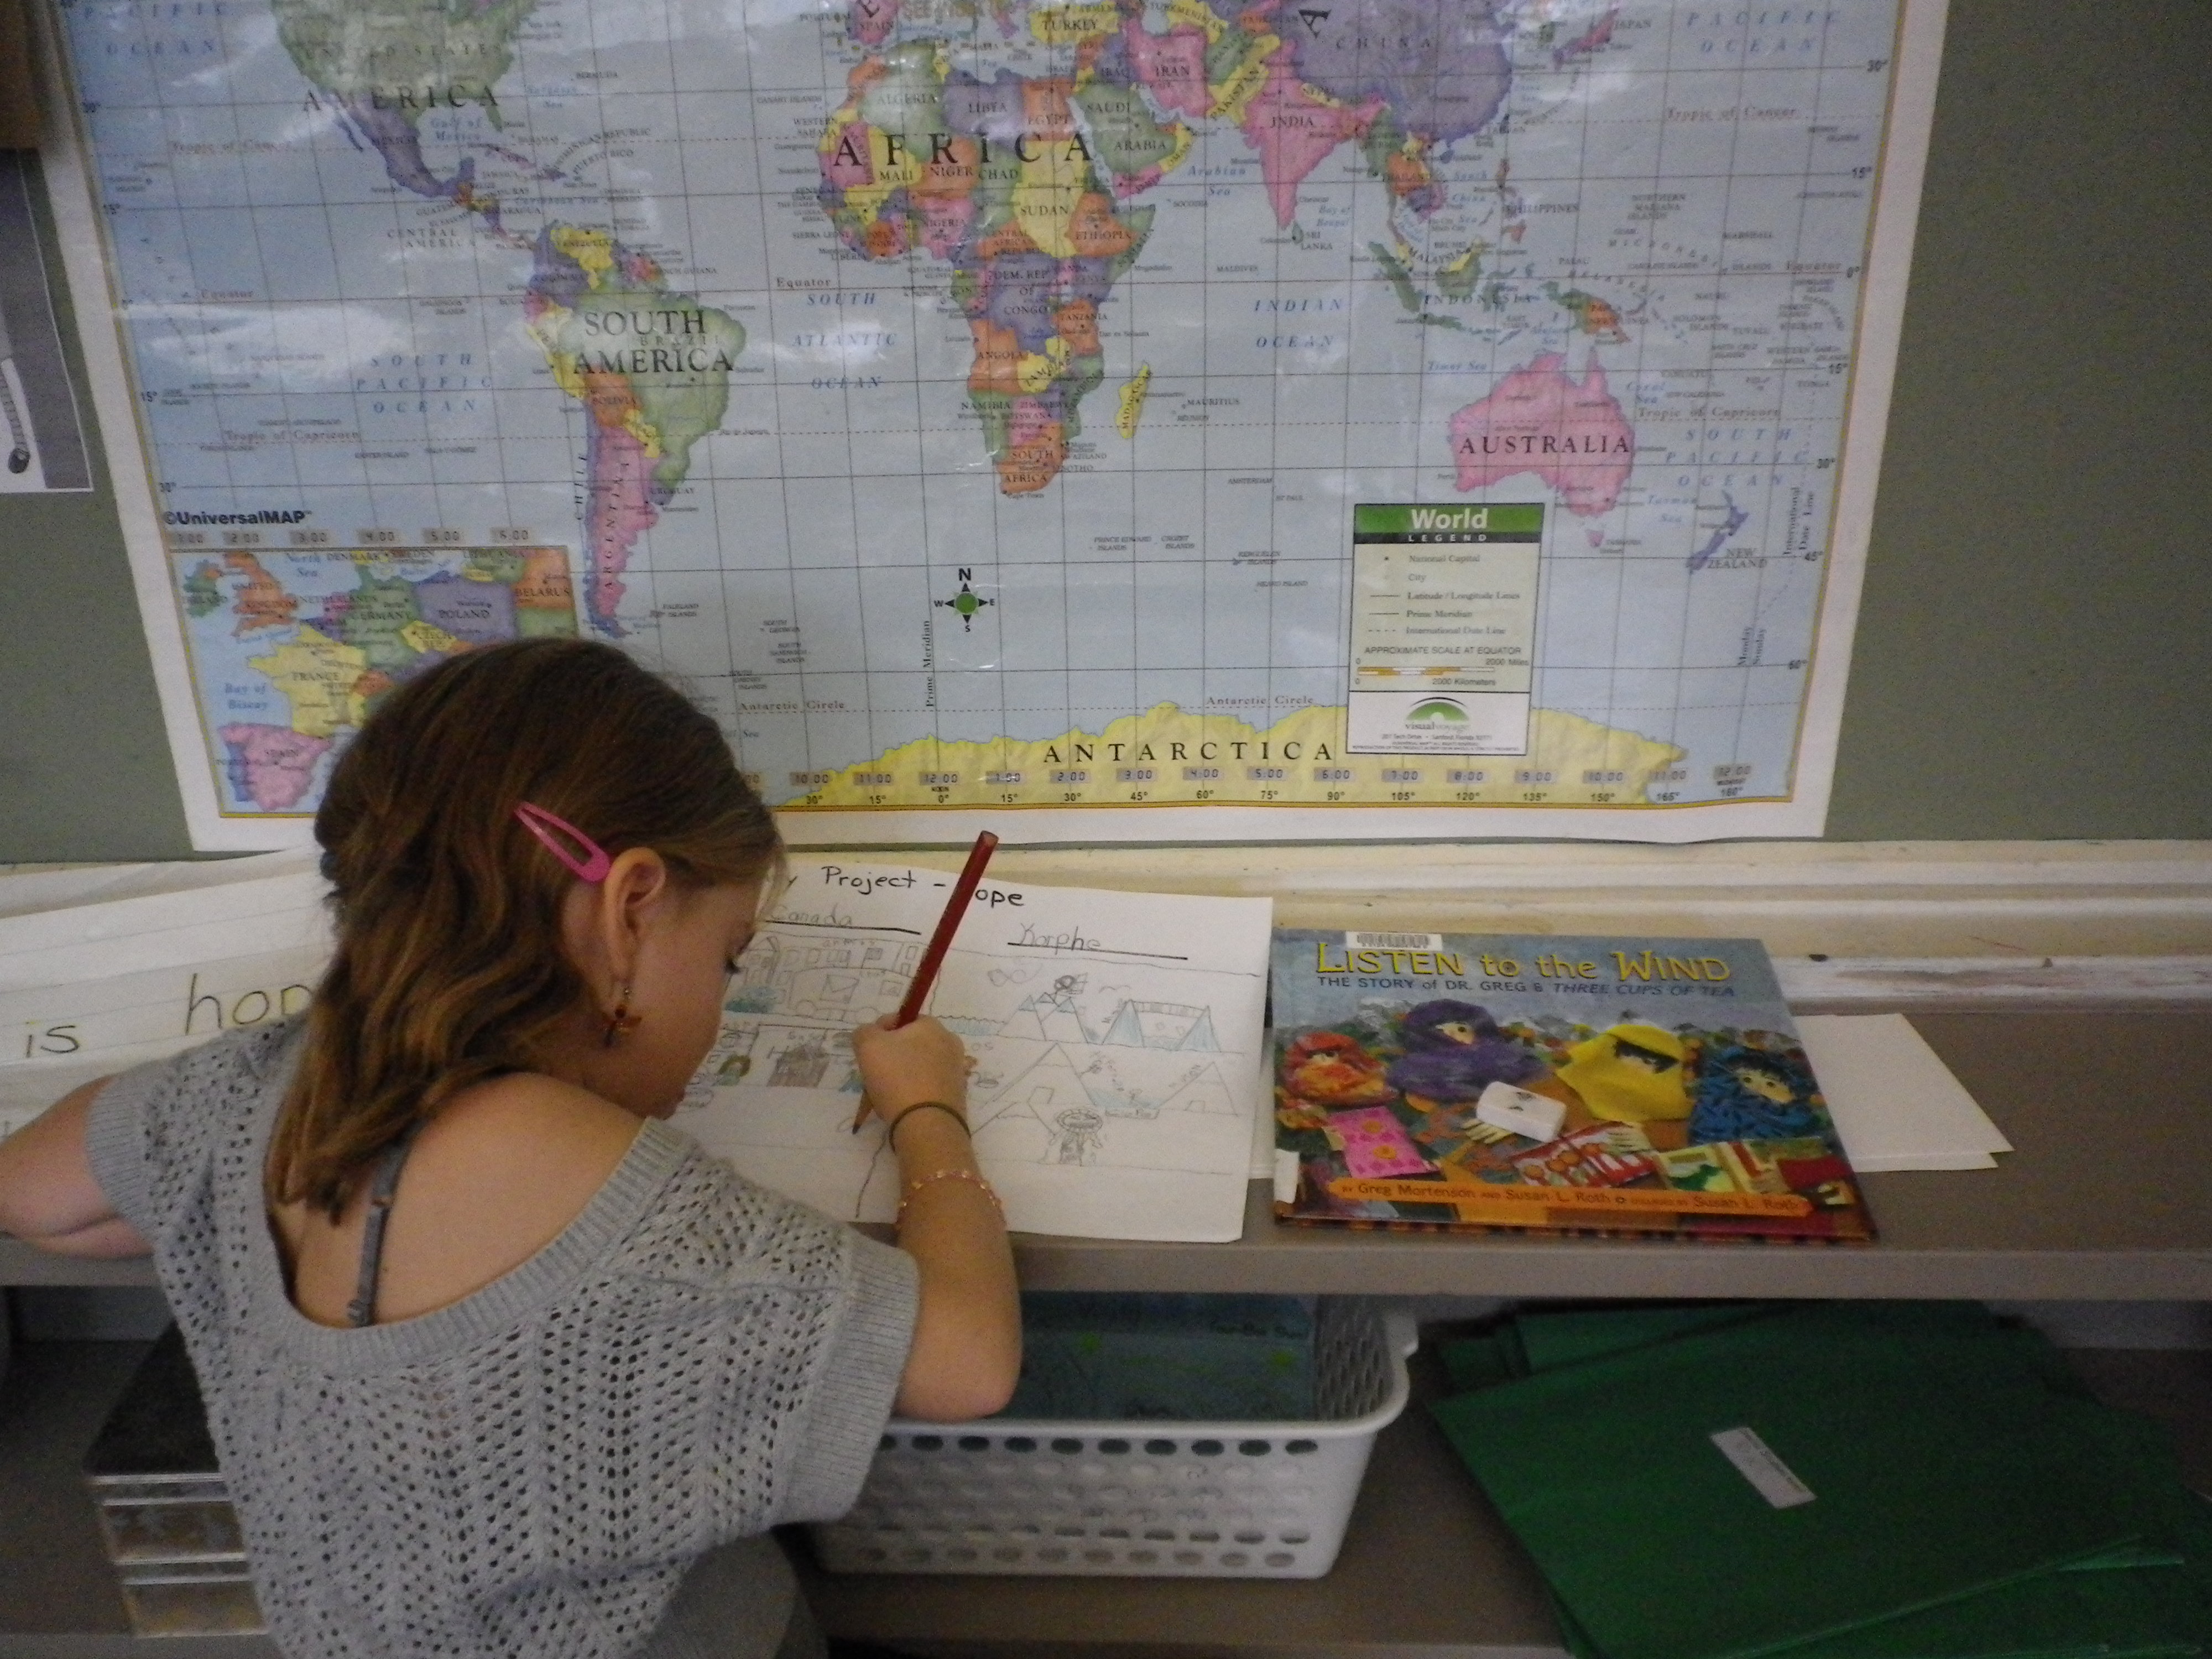
L. takes her chair to work by the map where she is working on locating Korphe, Pakistan and describing its climate.
When it came time for the culminating project, I doubted my decision to rely on the fabric representation for assessment. So, I created a graphic organizer or template for the children to complete first.
 Grade 2 student, L.,uses detailed drawings to represent her knowledge when comparing her community with a community in Pakistan. Note the curly lines in the mountains representing the effects of the air as wind in the higher altitude of Korphe.
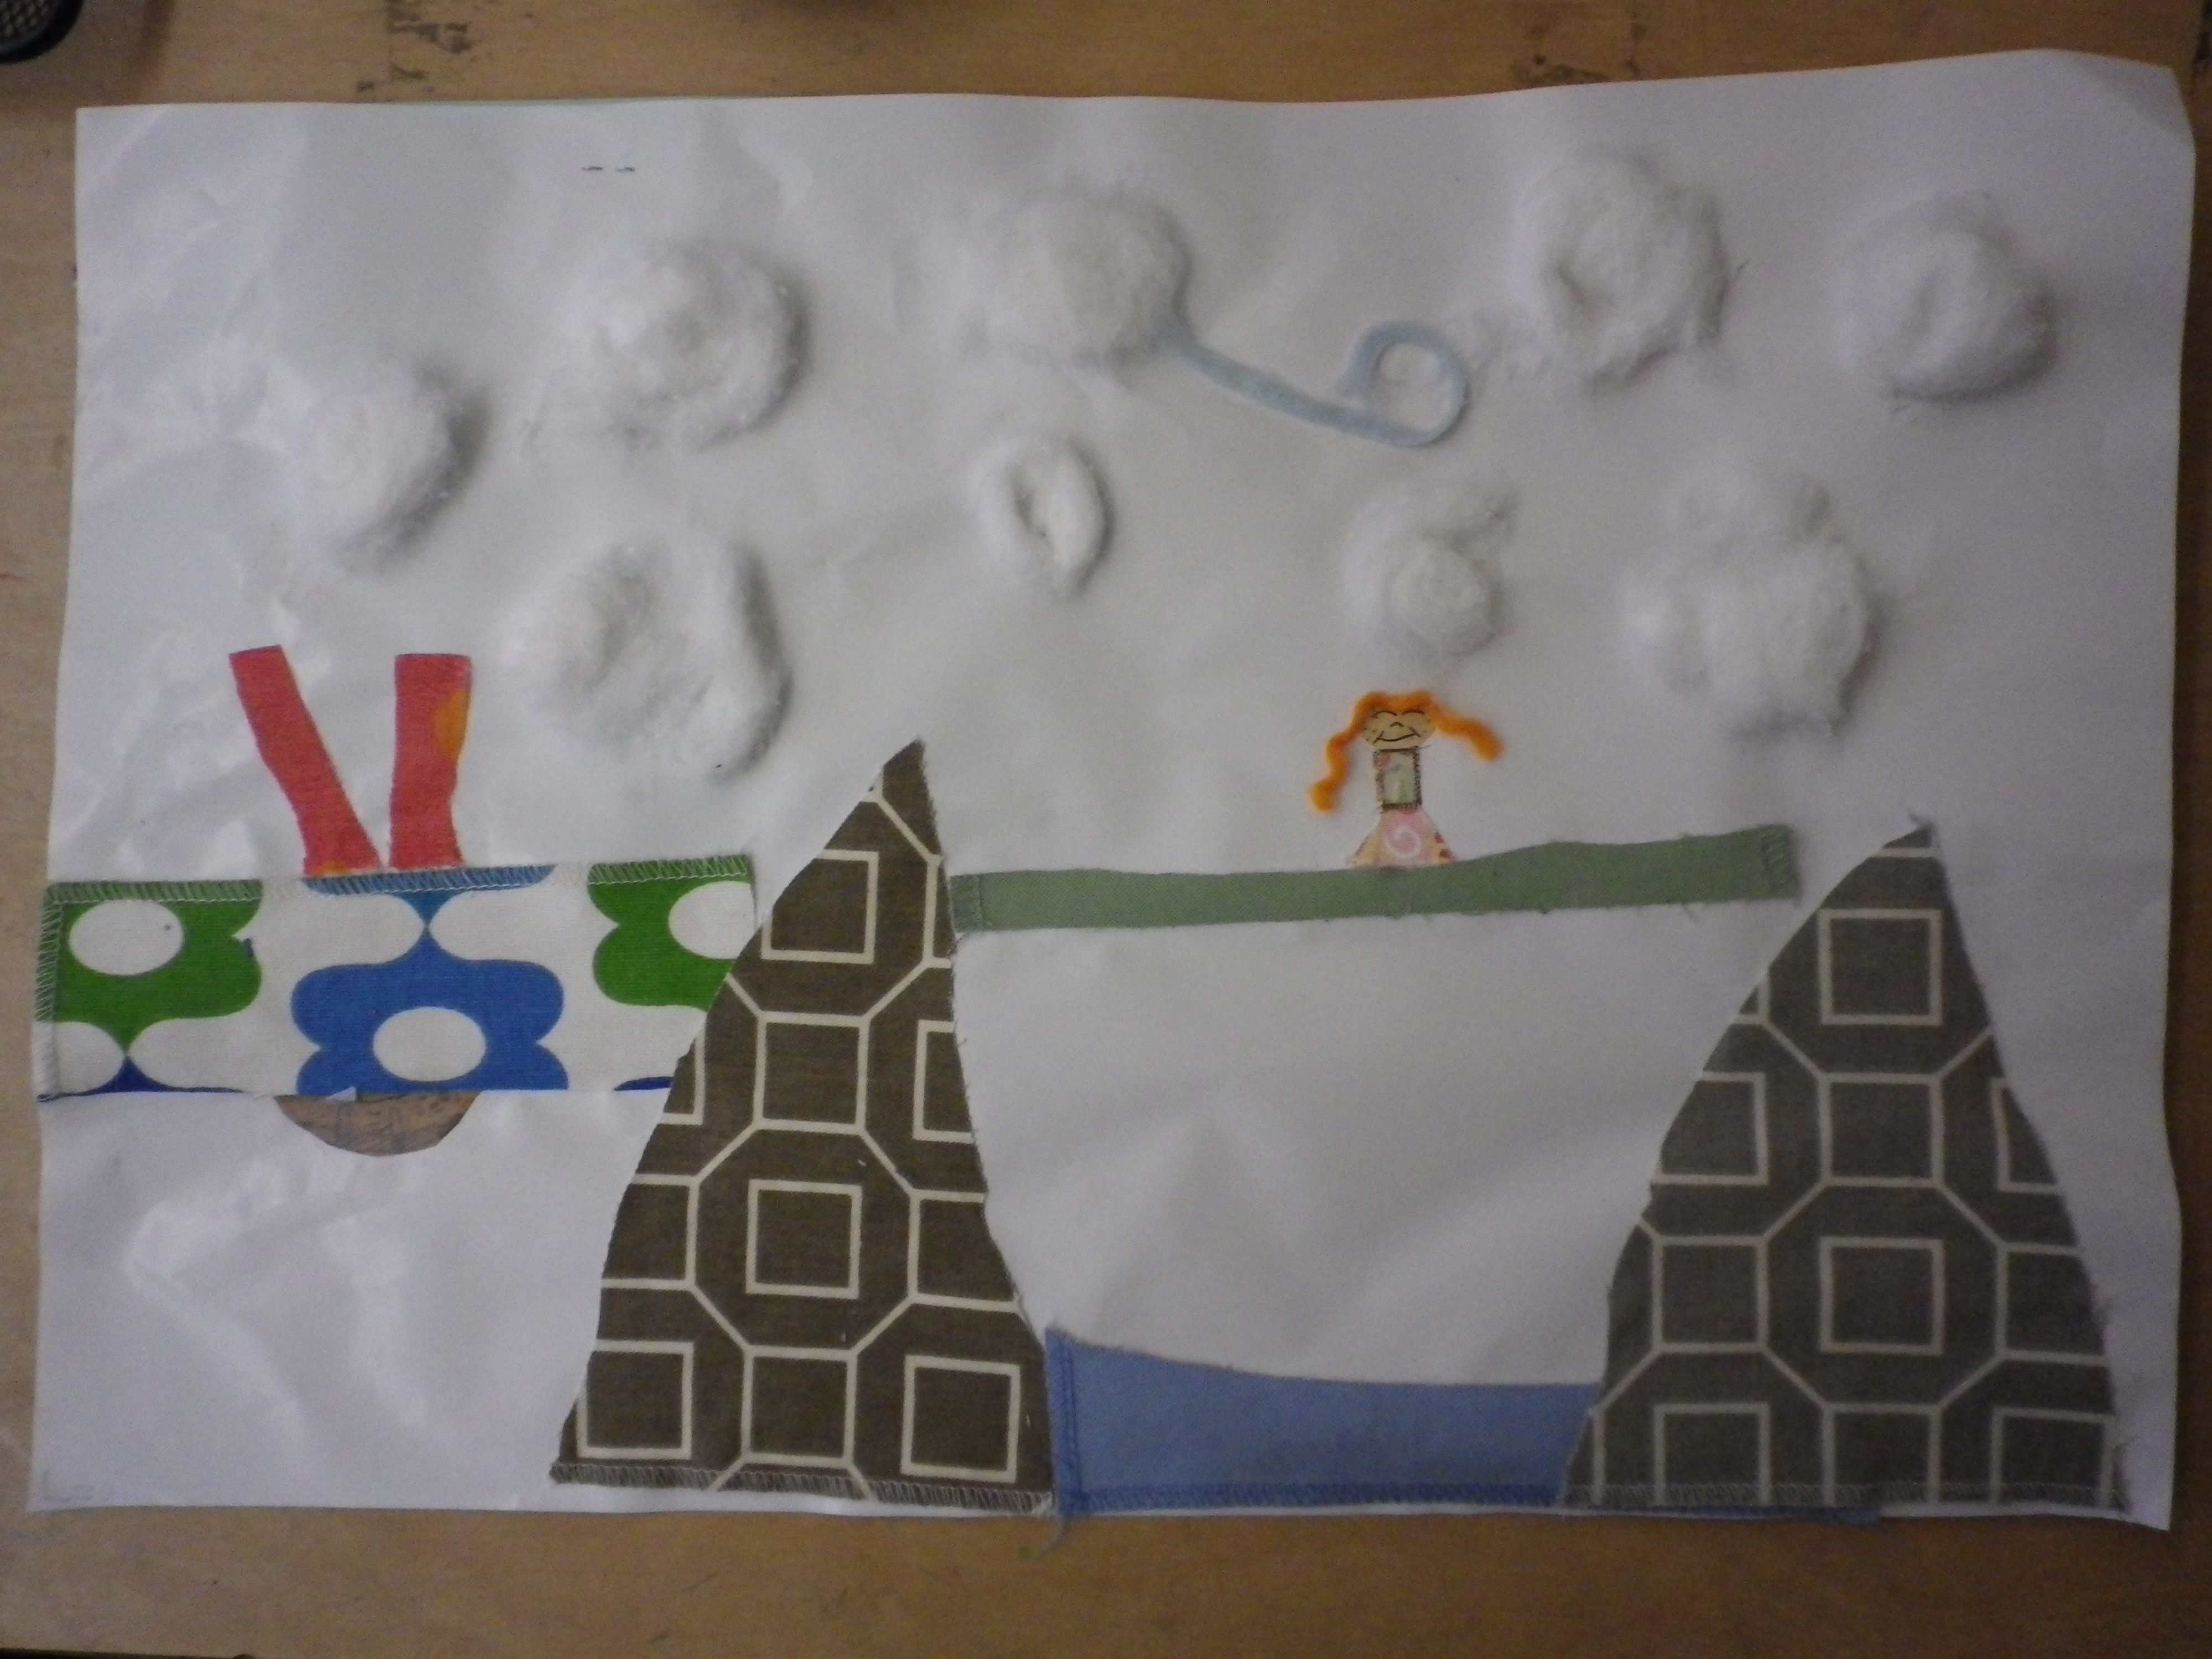 L.’s fabric representation shows the altitude of the Korphe community, the challenge of the water that was previously crossed using a wire pulley and a box to sit in, as well as the wise man who slipped. Their need for a bridge to connect them to building supplies and resources is more clearly needed before planning for a school.
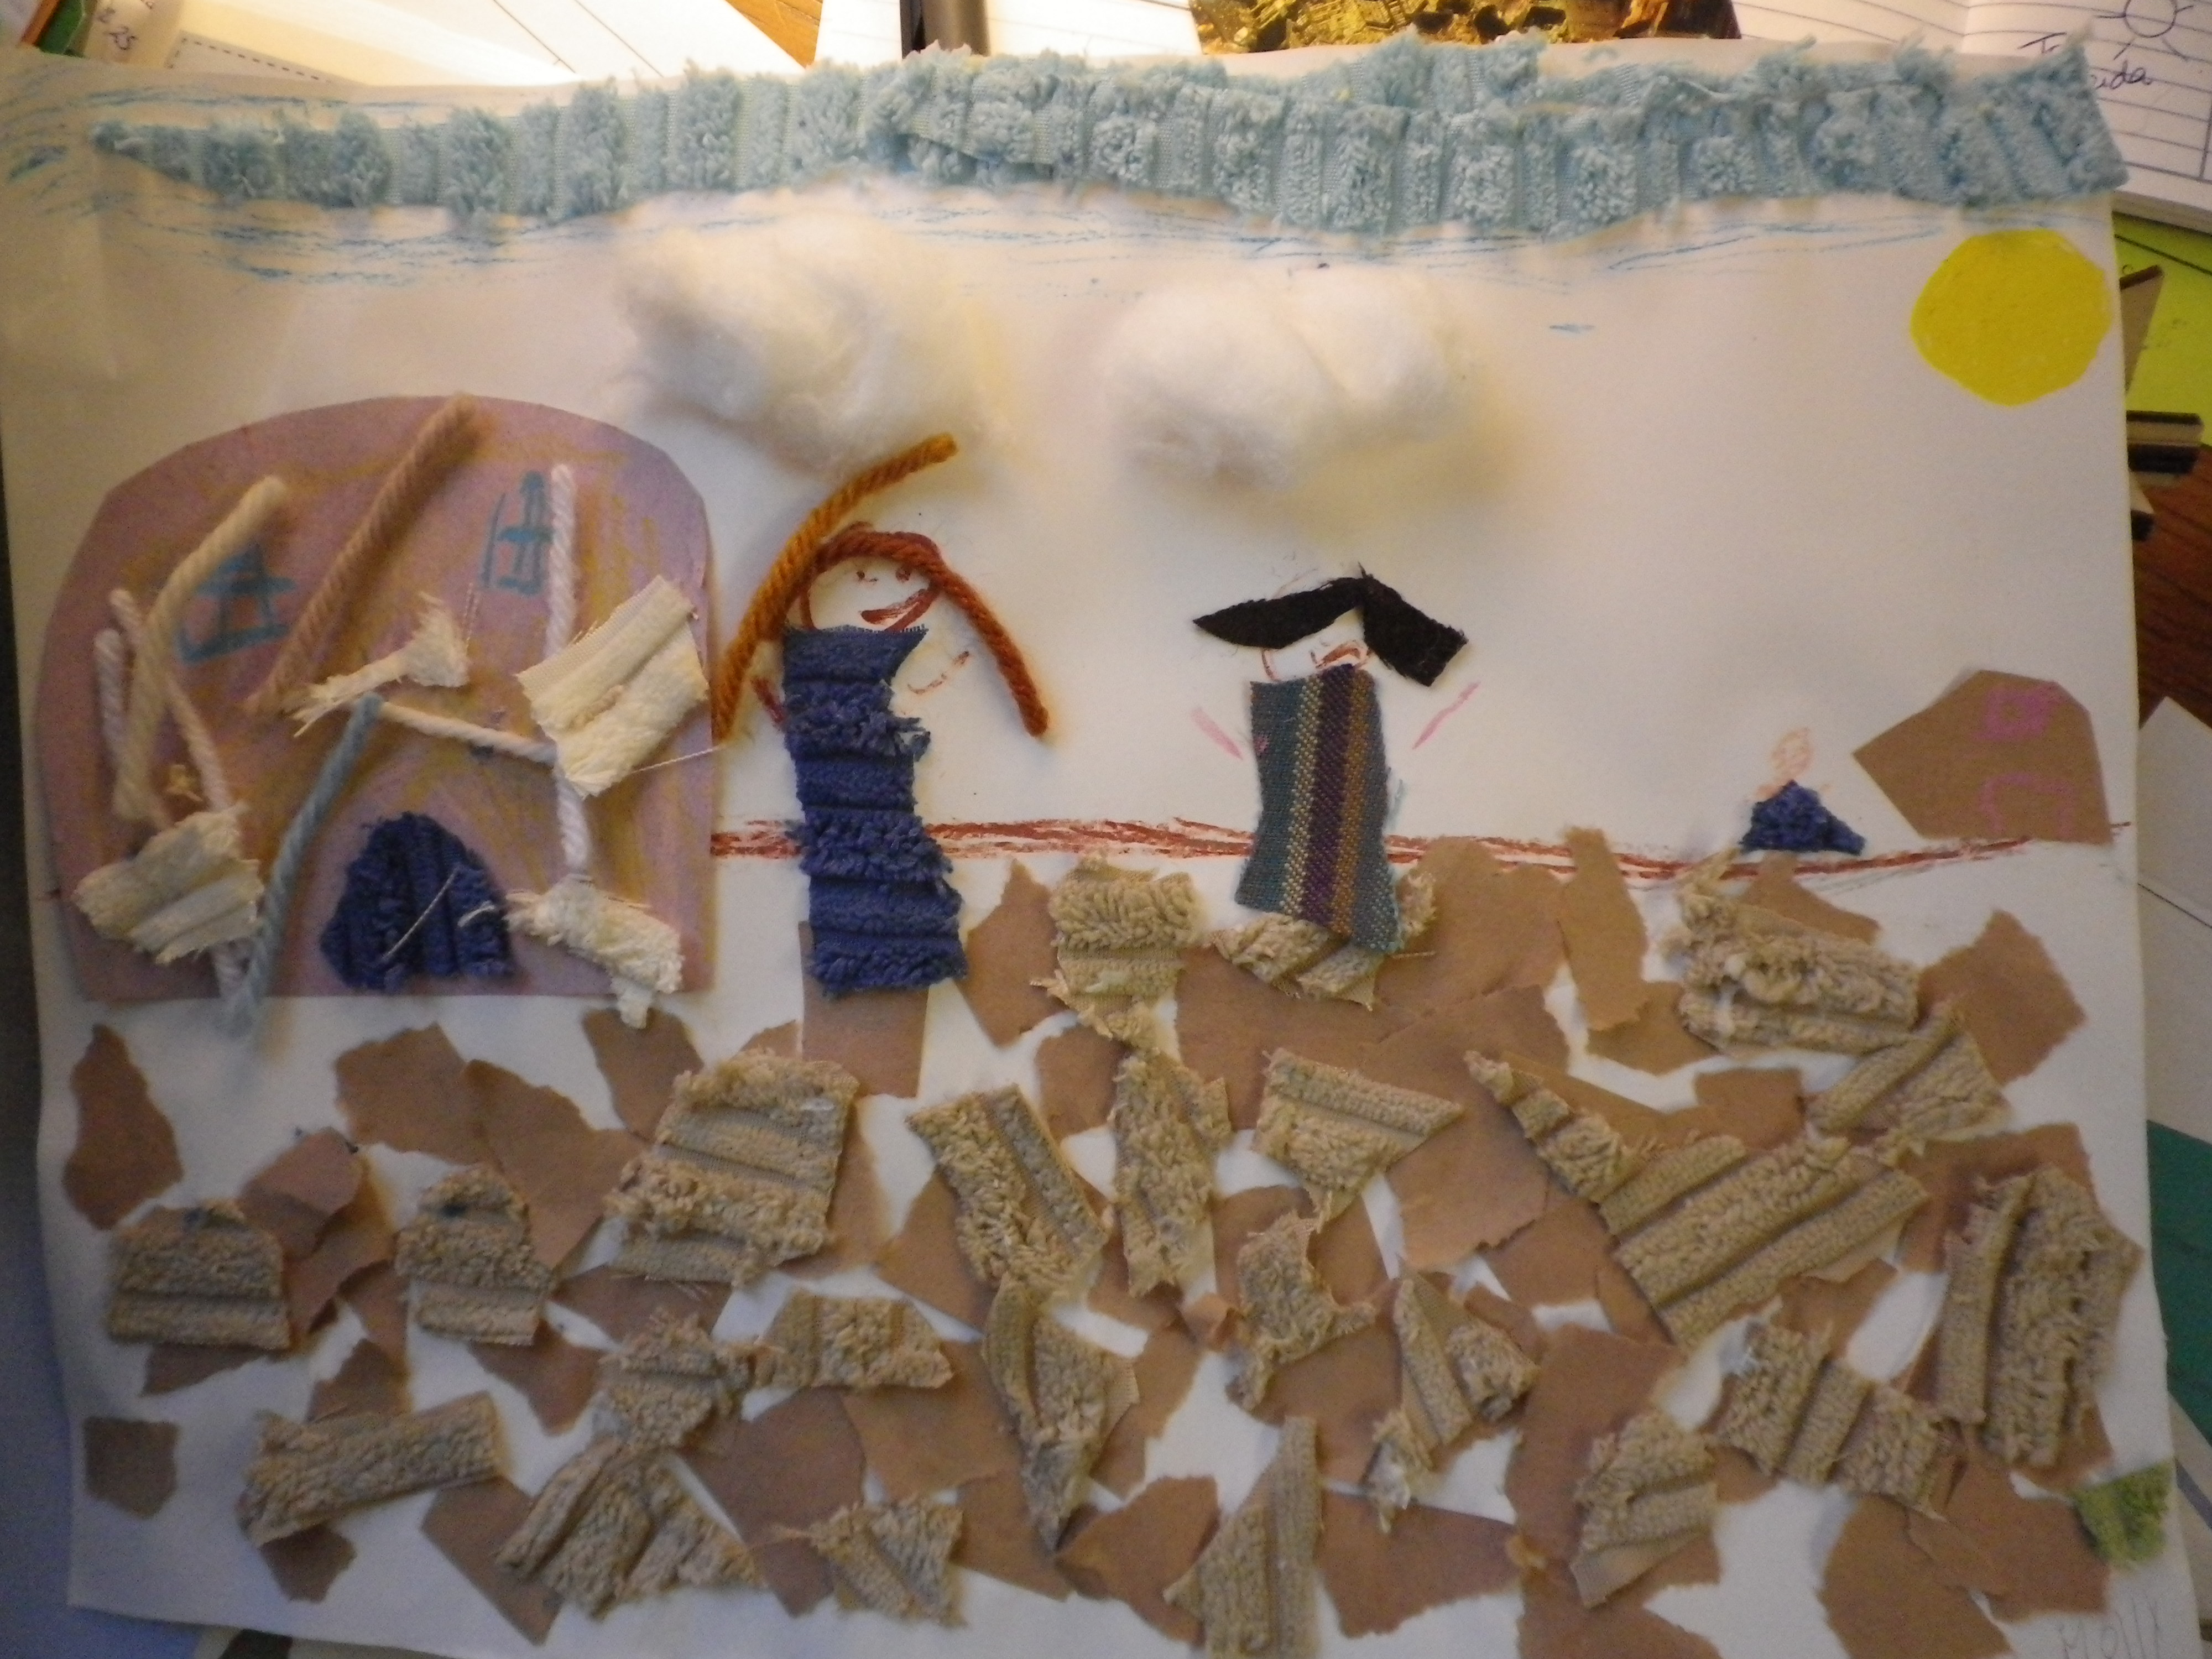
A Grade 2 student, uses fabric to effectively demonstrate her understanding of the dry African landscape. She has also shown perspective with a home and person in the background on the horizontal line, skills that were explored during instruction of the visual arts curriculum.
At the end of the inquiry, I asked the students if their ideas had changed about hope;
K.: Hope is more about needing something, like a place to live, food or water to survive.
L.: We pretty much have everything we need.
In addition to the observations, recorded conservations, and demonstrations of understanding through their independent works – their final responses to the question “What is hope” showed how much they had learned from the first day we considered this big idea.